Partitions and backfills in the Dagster UI
Now that you've created your partitions, used those partitions in the assets, and updated the jobs with partitions to create a partitioned schedule, let’s check out how things look in the Dagster UI. If you still have dagster dev running, you’ll need to Reload definitions to ensure the partitions are visible.
Viewing and materializing assets with partitions
| Step one | |
|---|---|
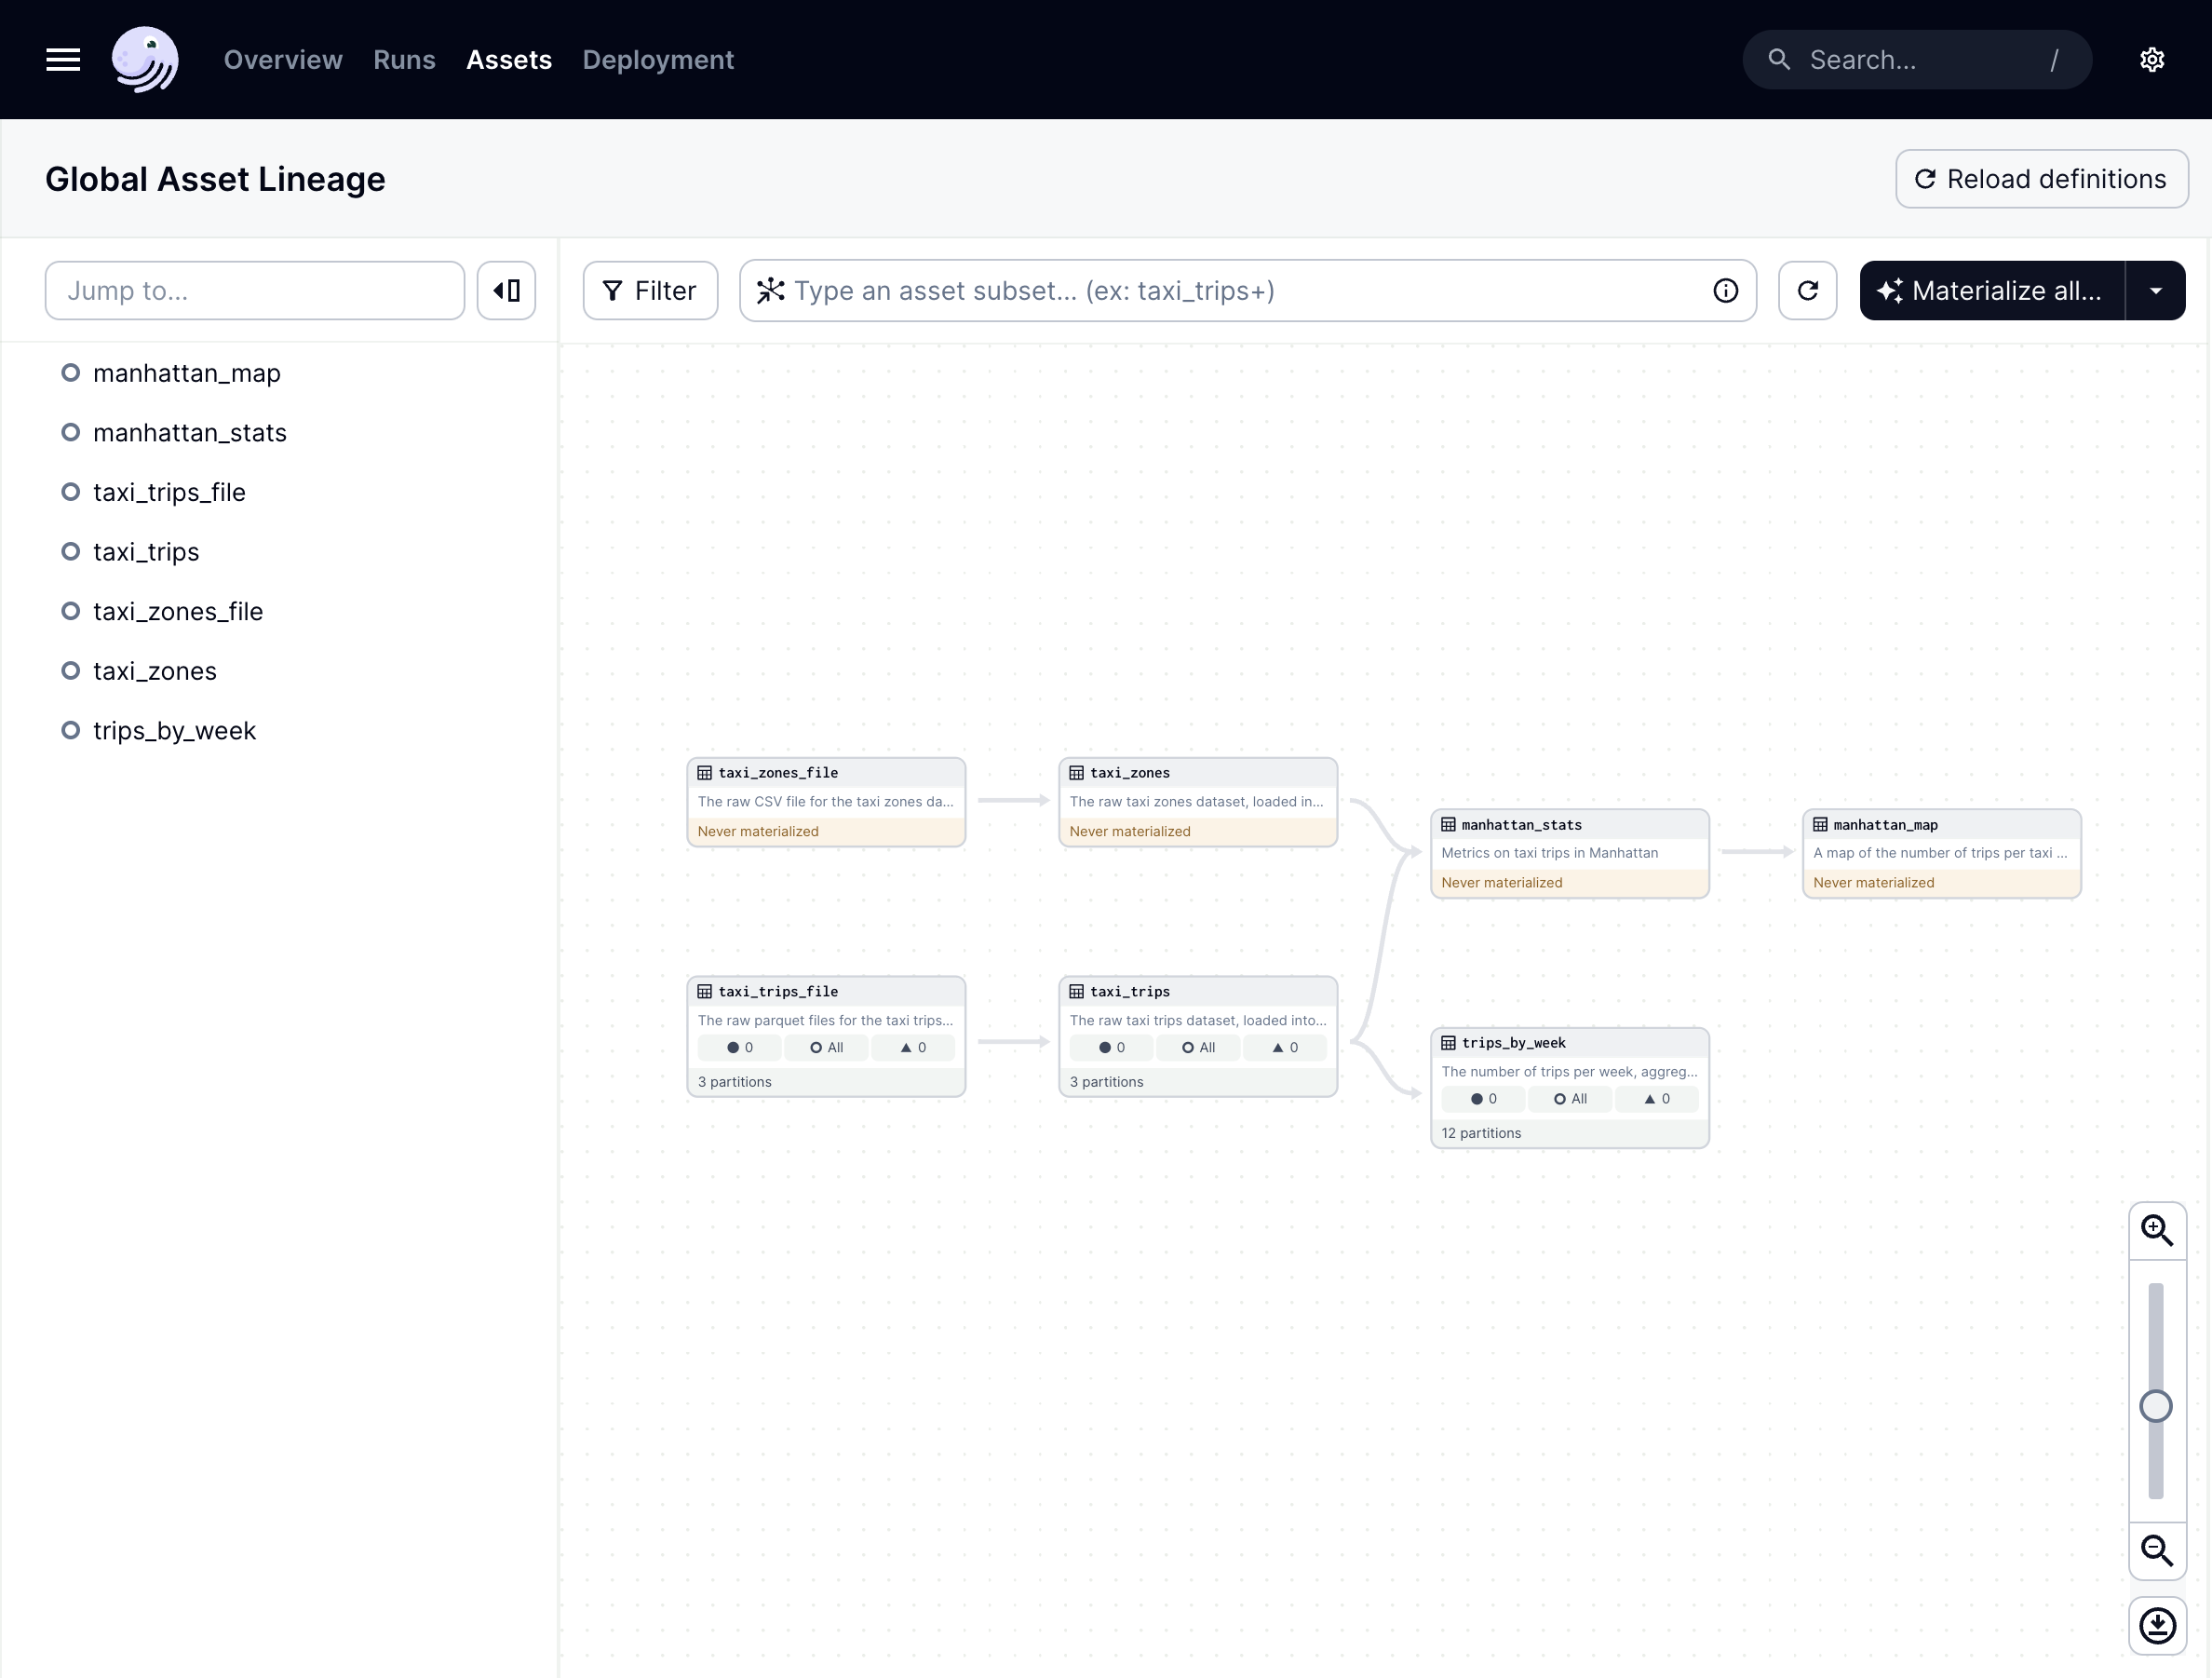
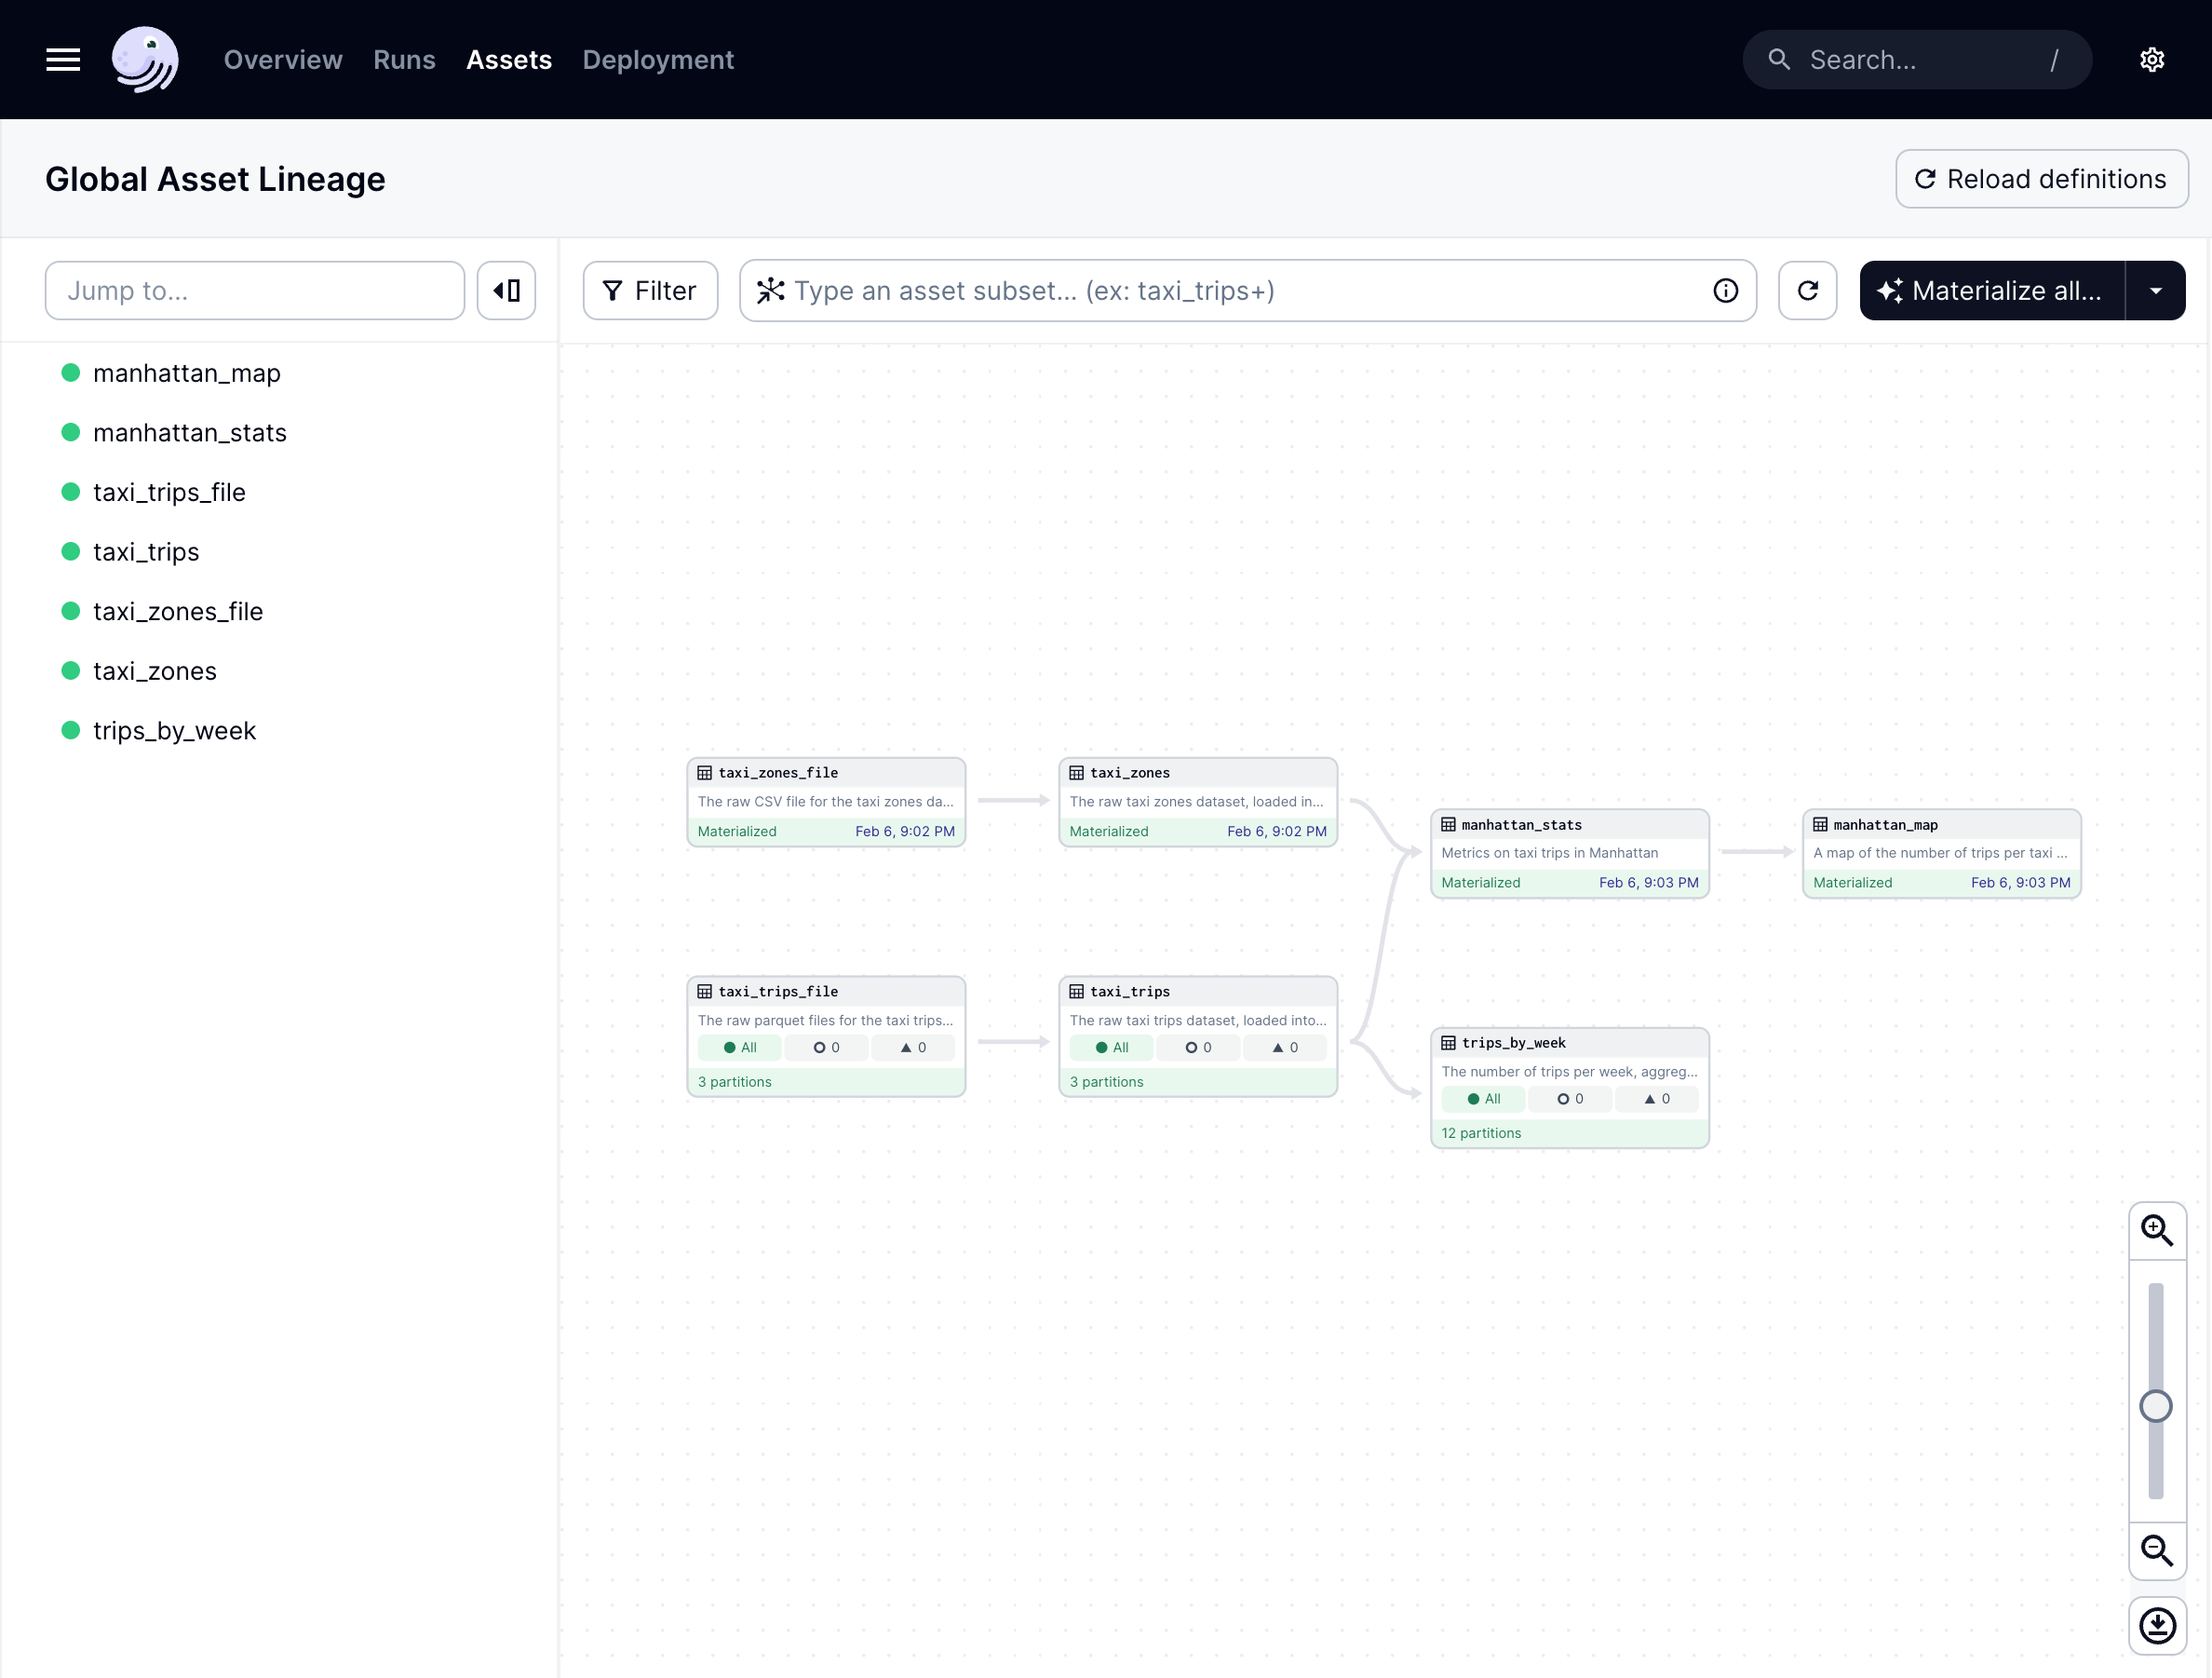
Navigate to Assets, then Asset lineage. As you’ll see in the asset graph, the |
|
| Step two | |
|---|---|
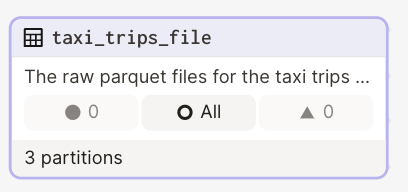
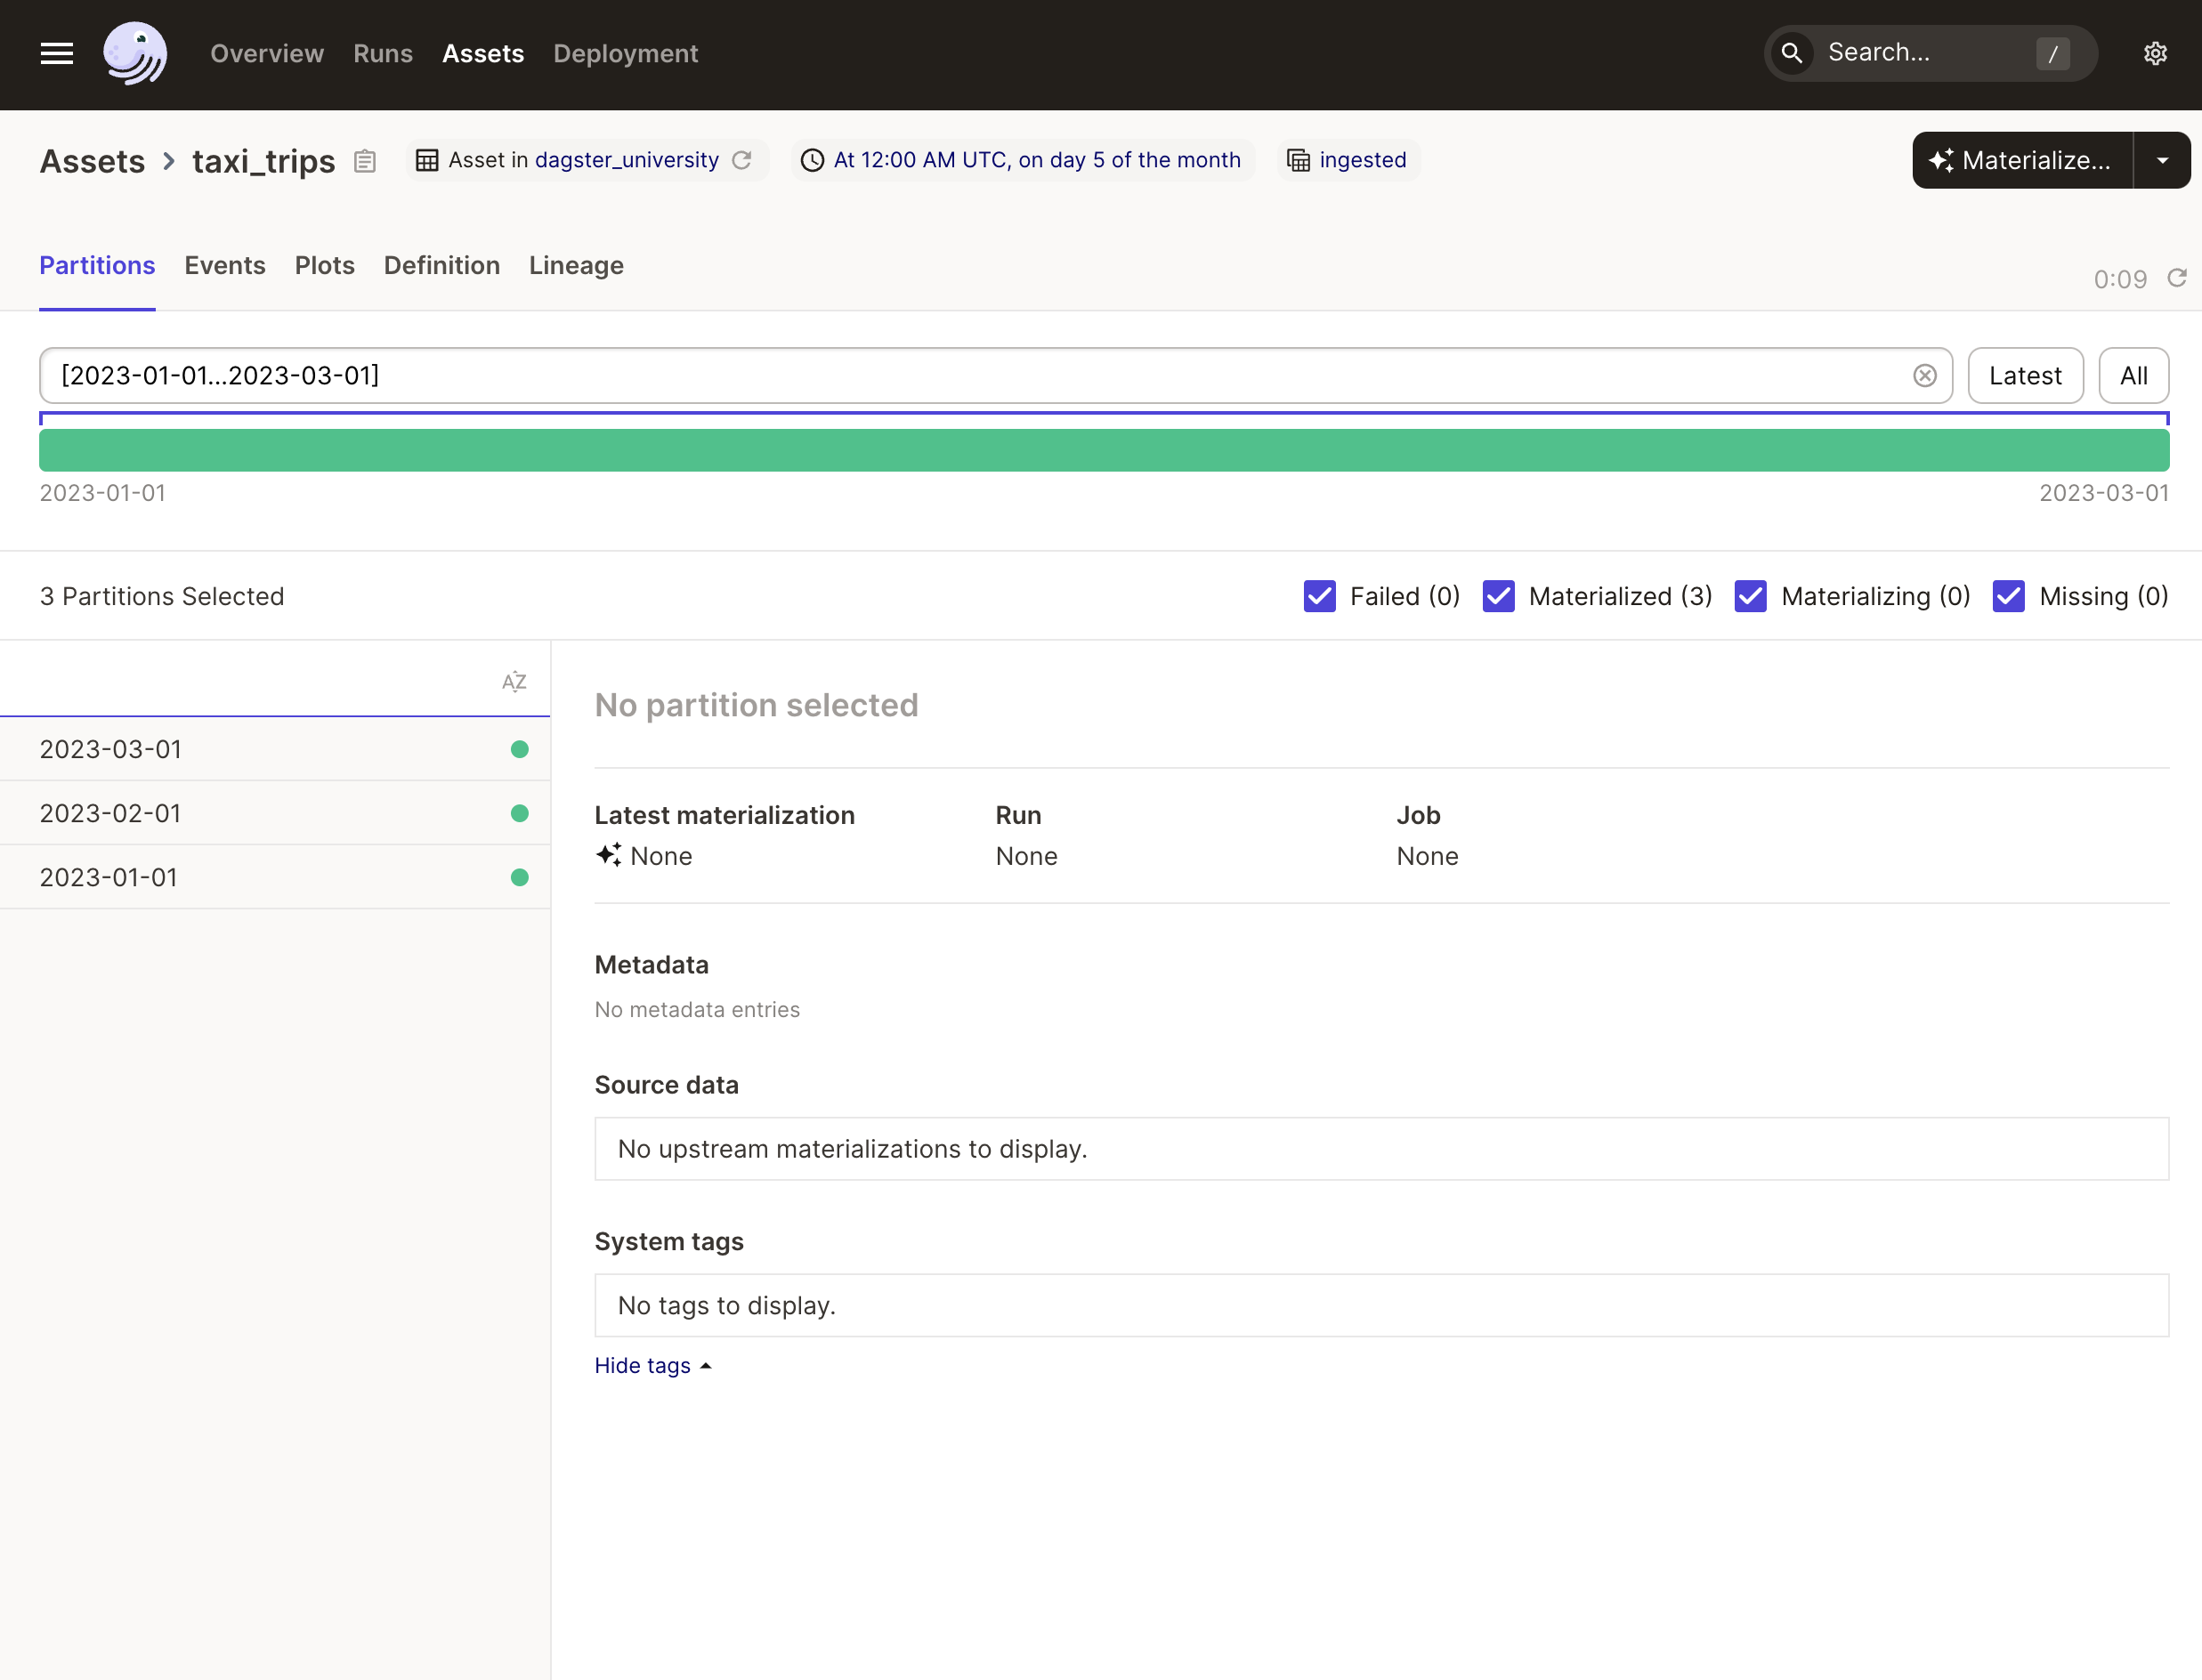
Taking a closer look at the
This information is useful to get a quick look at the state of your asset. |
|
| Step three | |
|---|---|
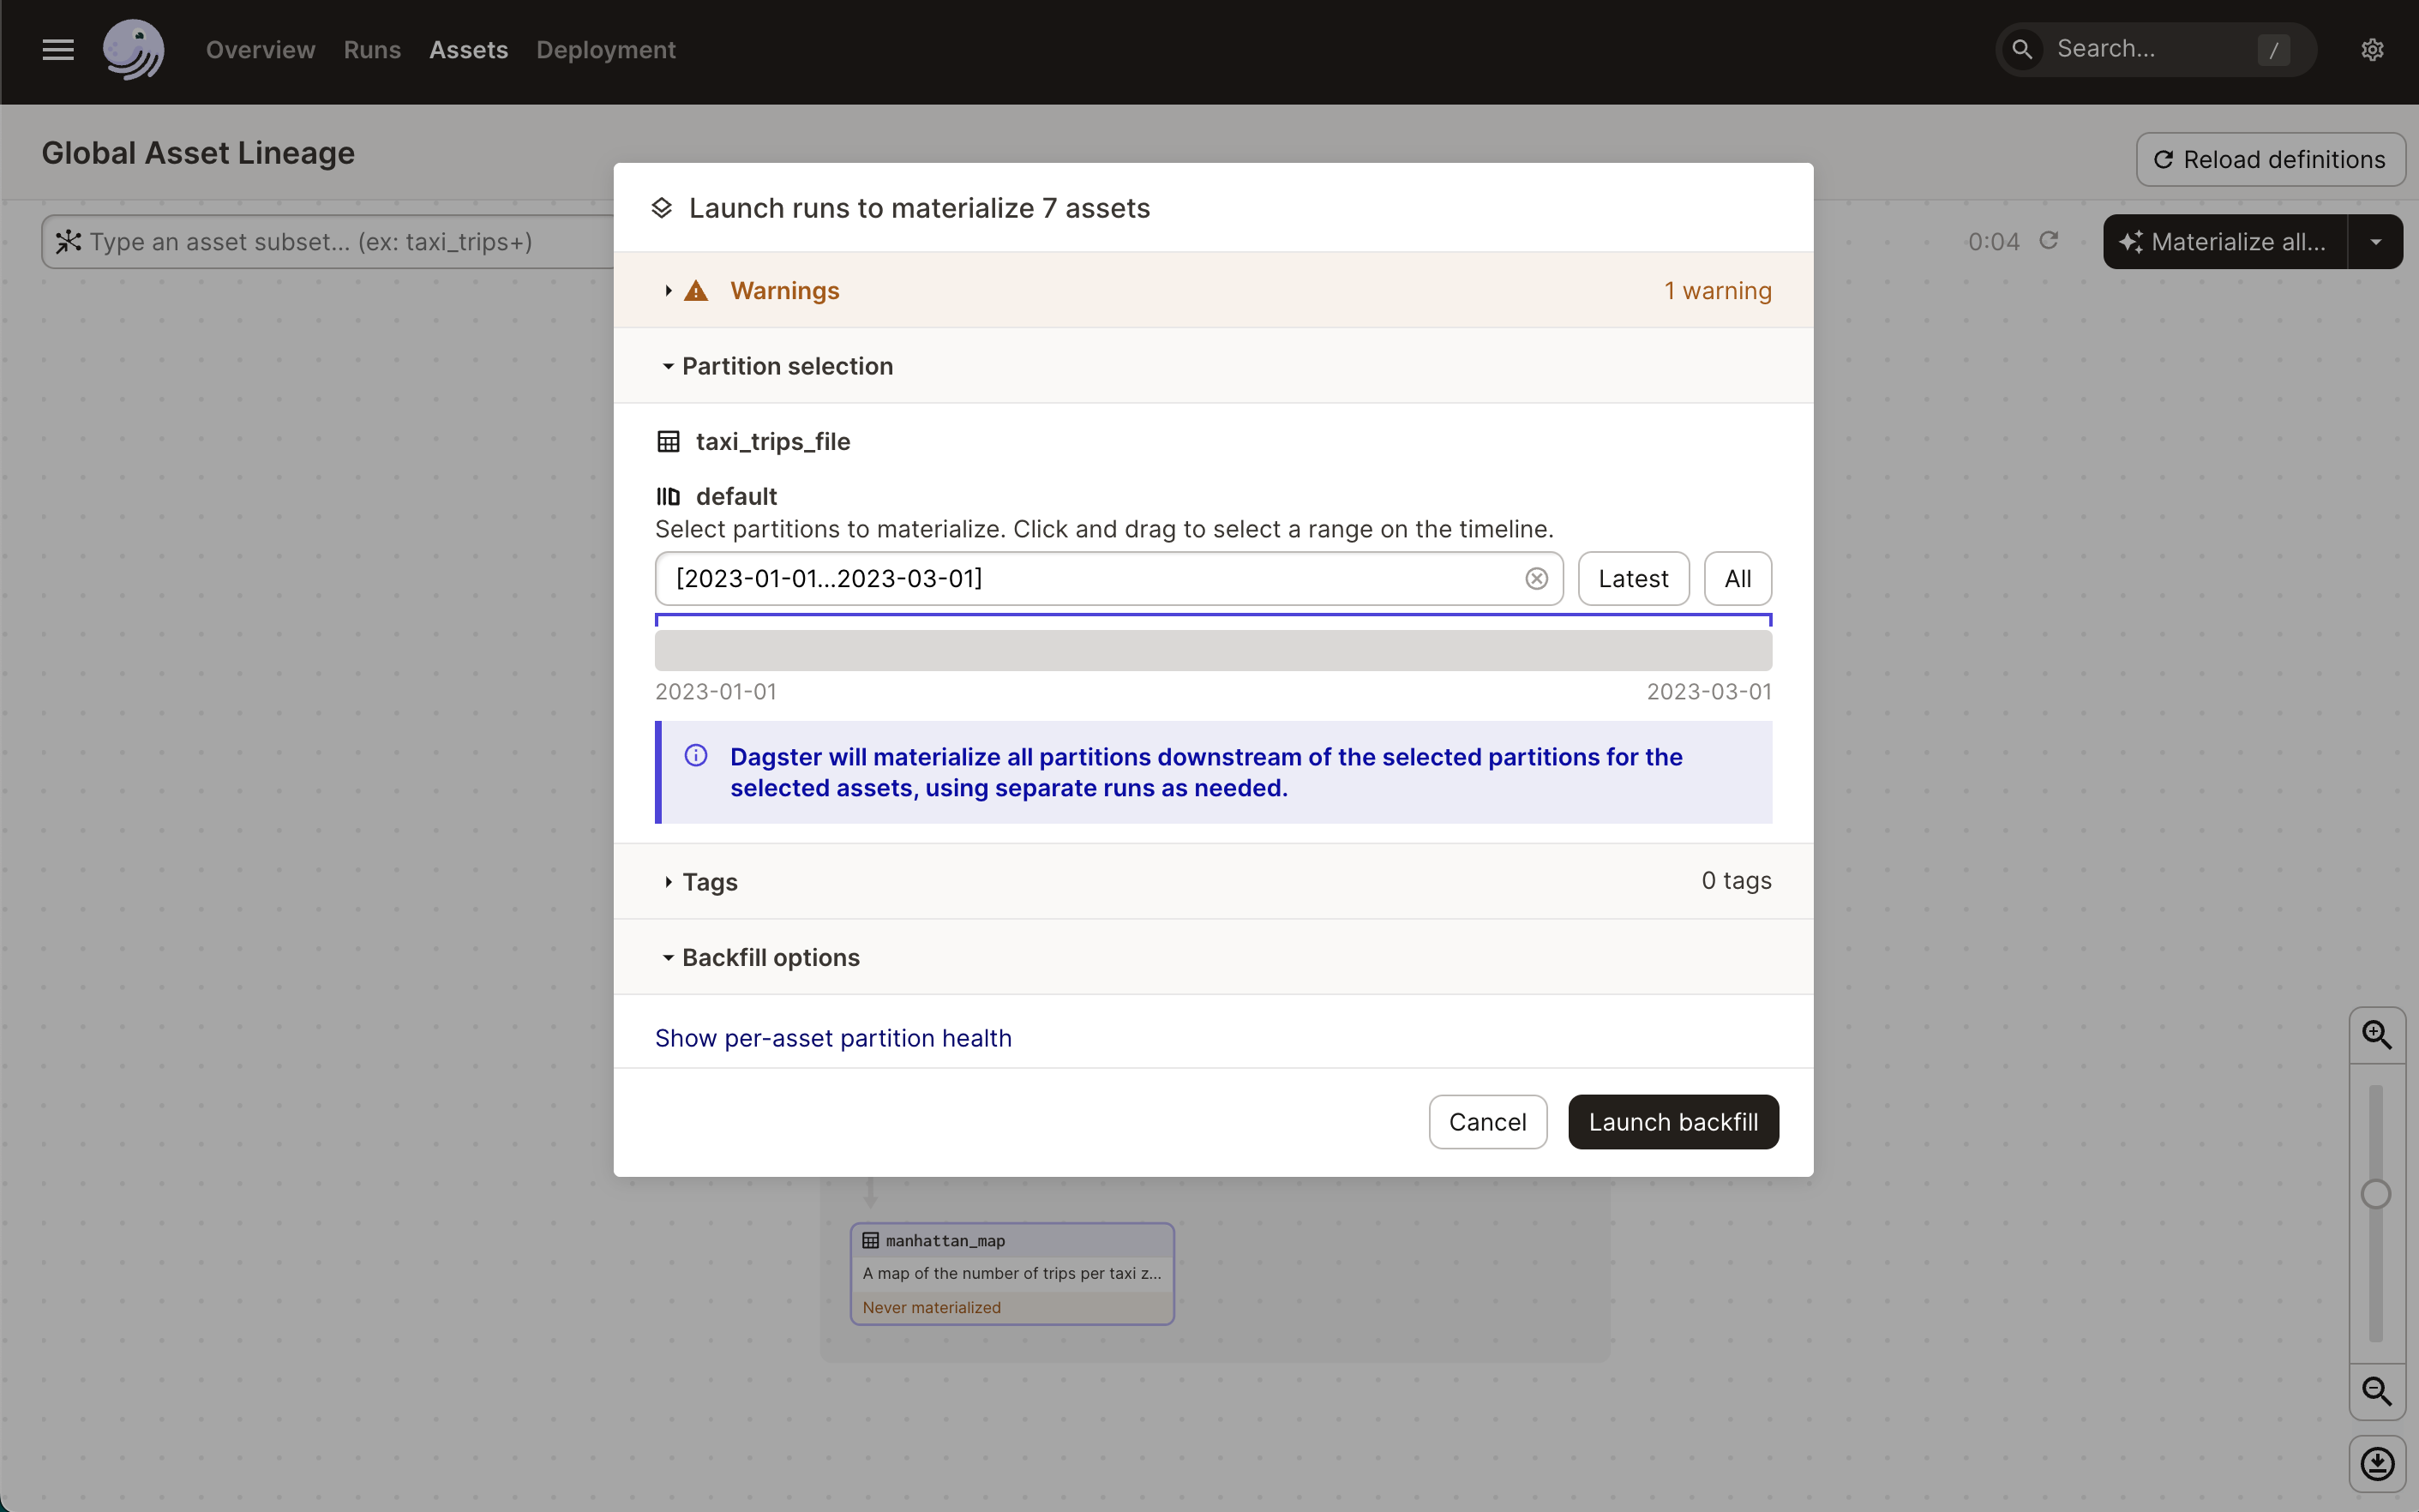
Clicking Materialize all will display a popup containing the partition information. This allows you to choose which partitions you want to materialize or launch a backfill that can materialize several partitions at once. |
|
Launching a backfill
| Step one | |
|---|---|
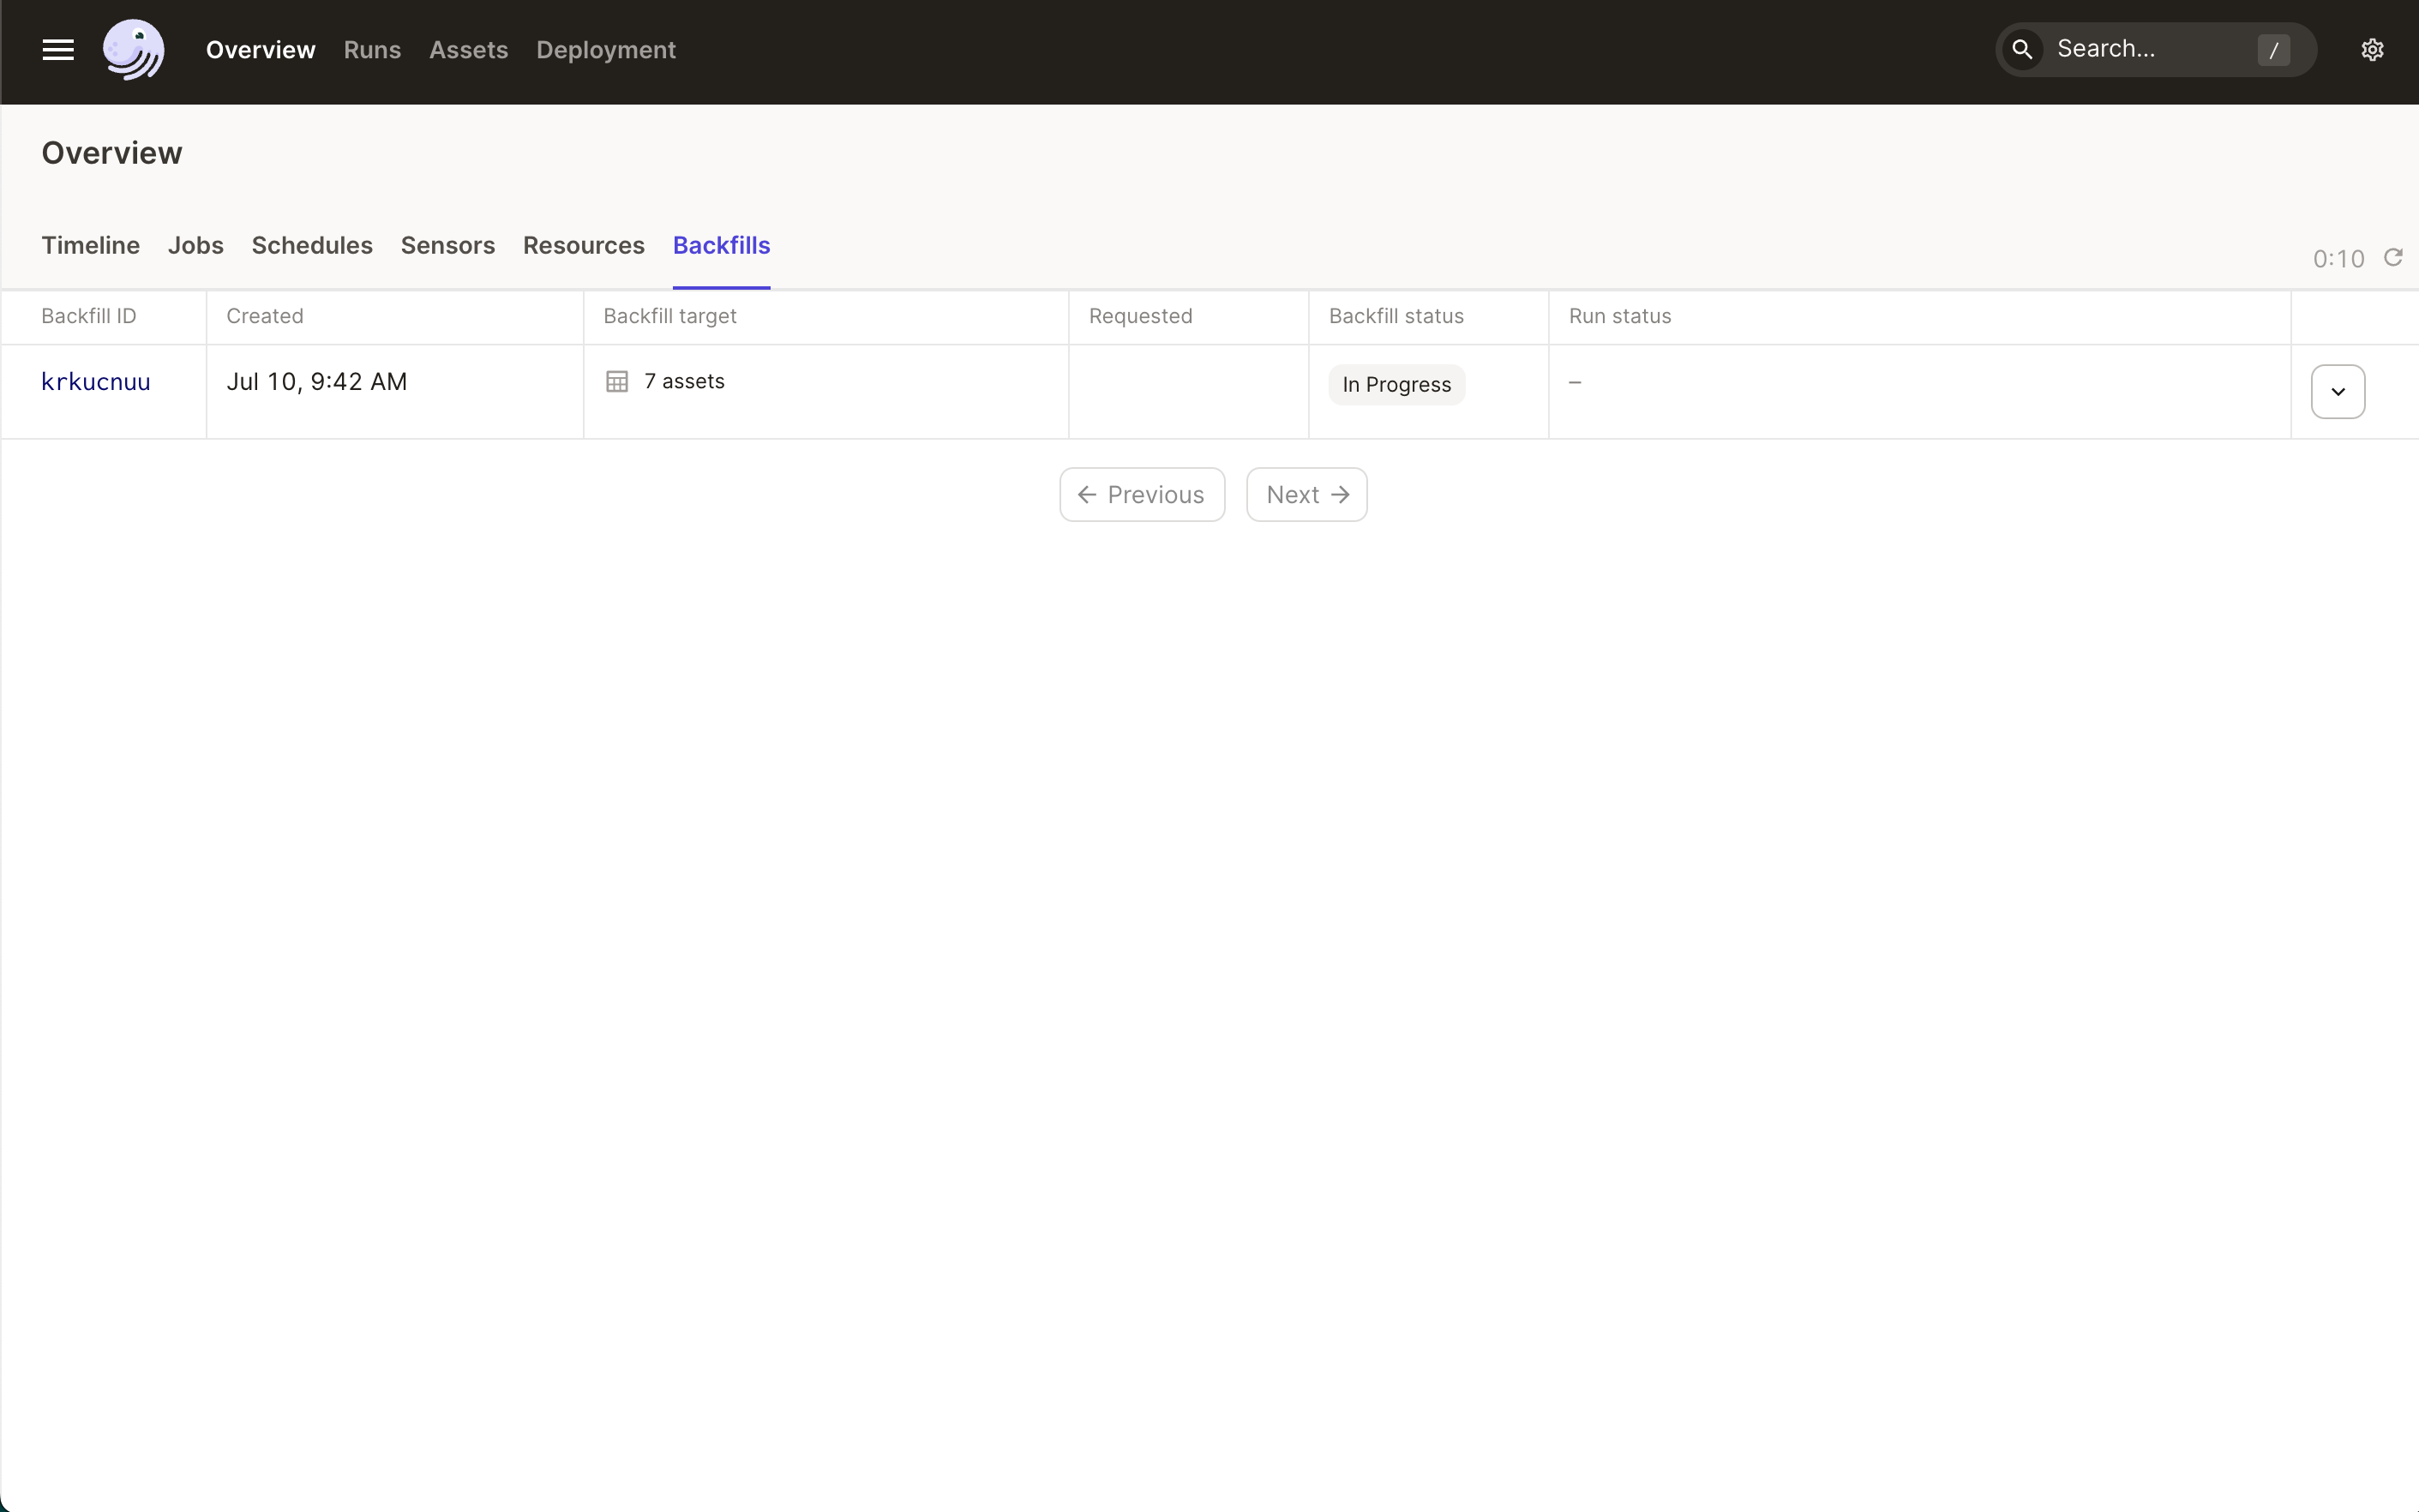
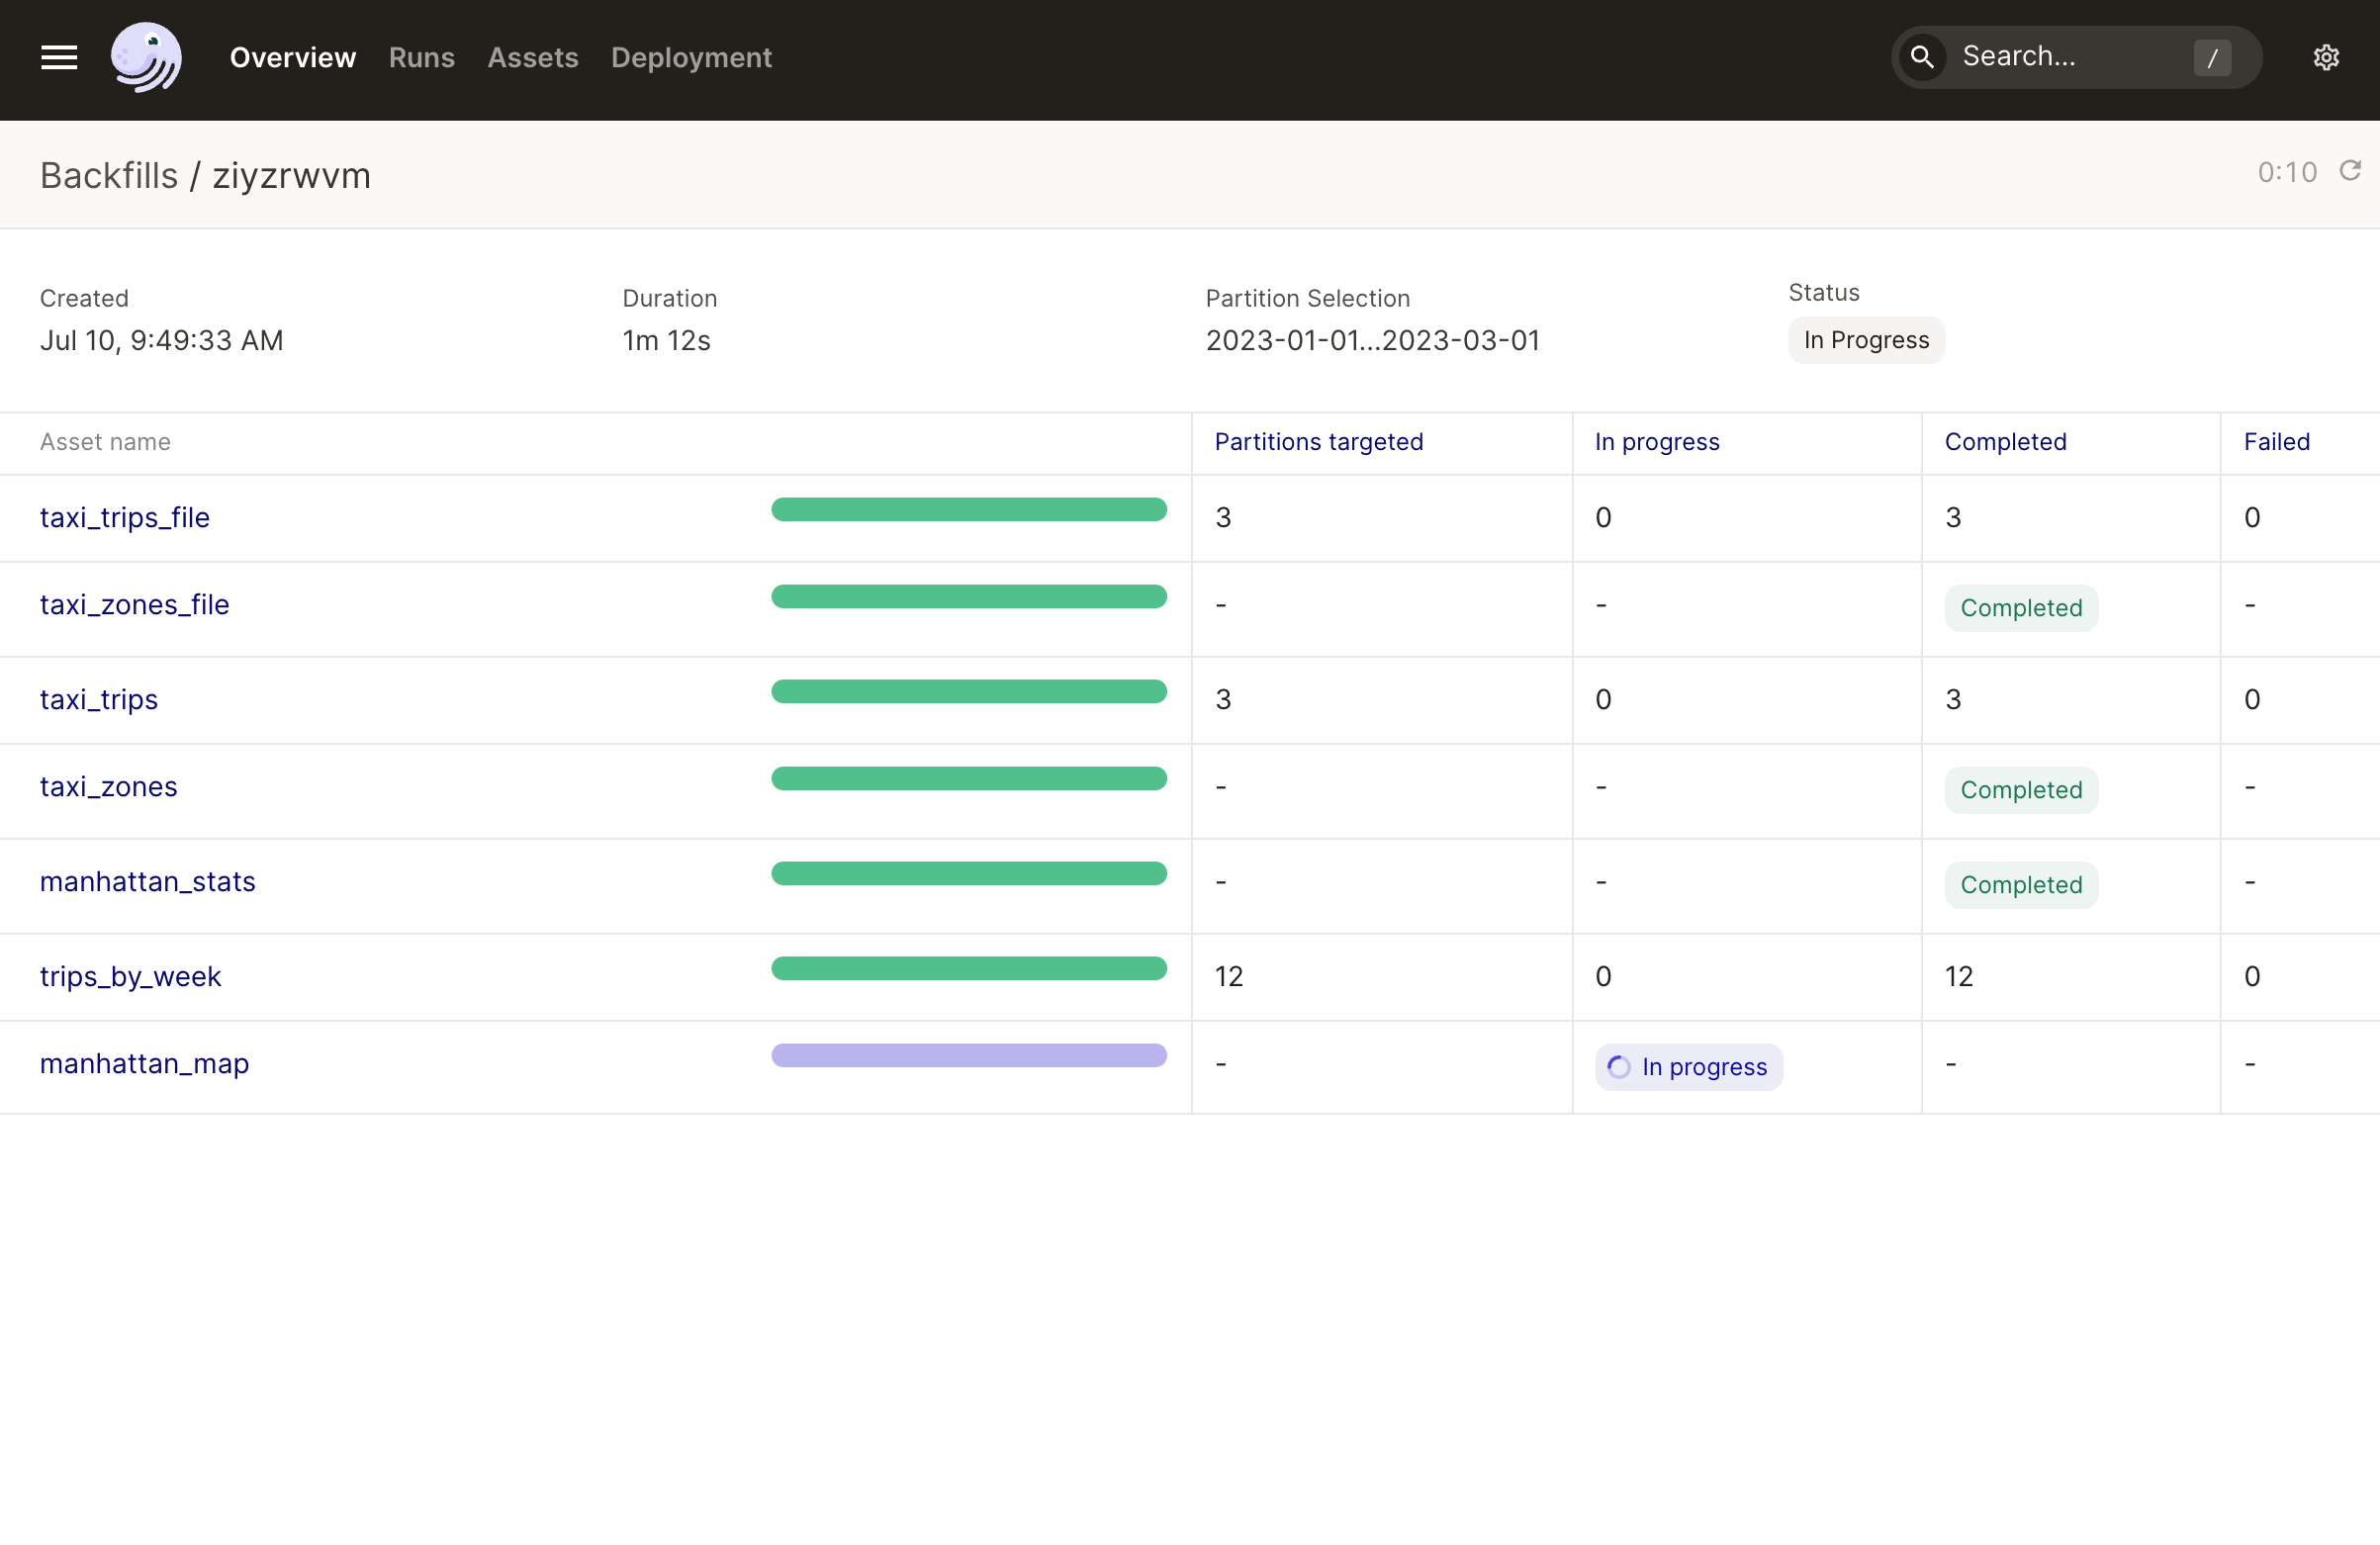
To begin the backfill, click Launch backfill in the popup window from the last section. By default, the date range will be the entire date range. Next, click Overview > Backfills to view the backfill’s information. |
|
| Step two | |
|---|---|
Click on a backfill to open its details page. In this page, you’ll see each asset being materialized in the backfill, along with their status. |
|
| Step three | |
|---|---|
Navigate back to the Global Asset Lineage page (Assets > Asset lineage). In the asset graph, you’ll see the status of the partitioned and non-partitioned assets has been updated. |
|
Viewing asset partition details
| Step one | |
|---|---|
In the asset graph, click the |
|
| Step two | |
|---|---|
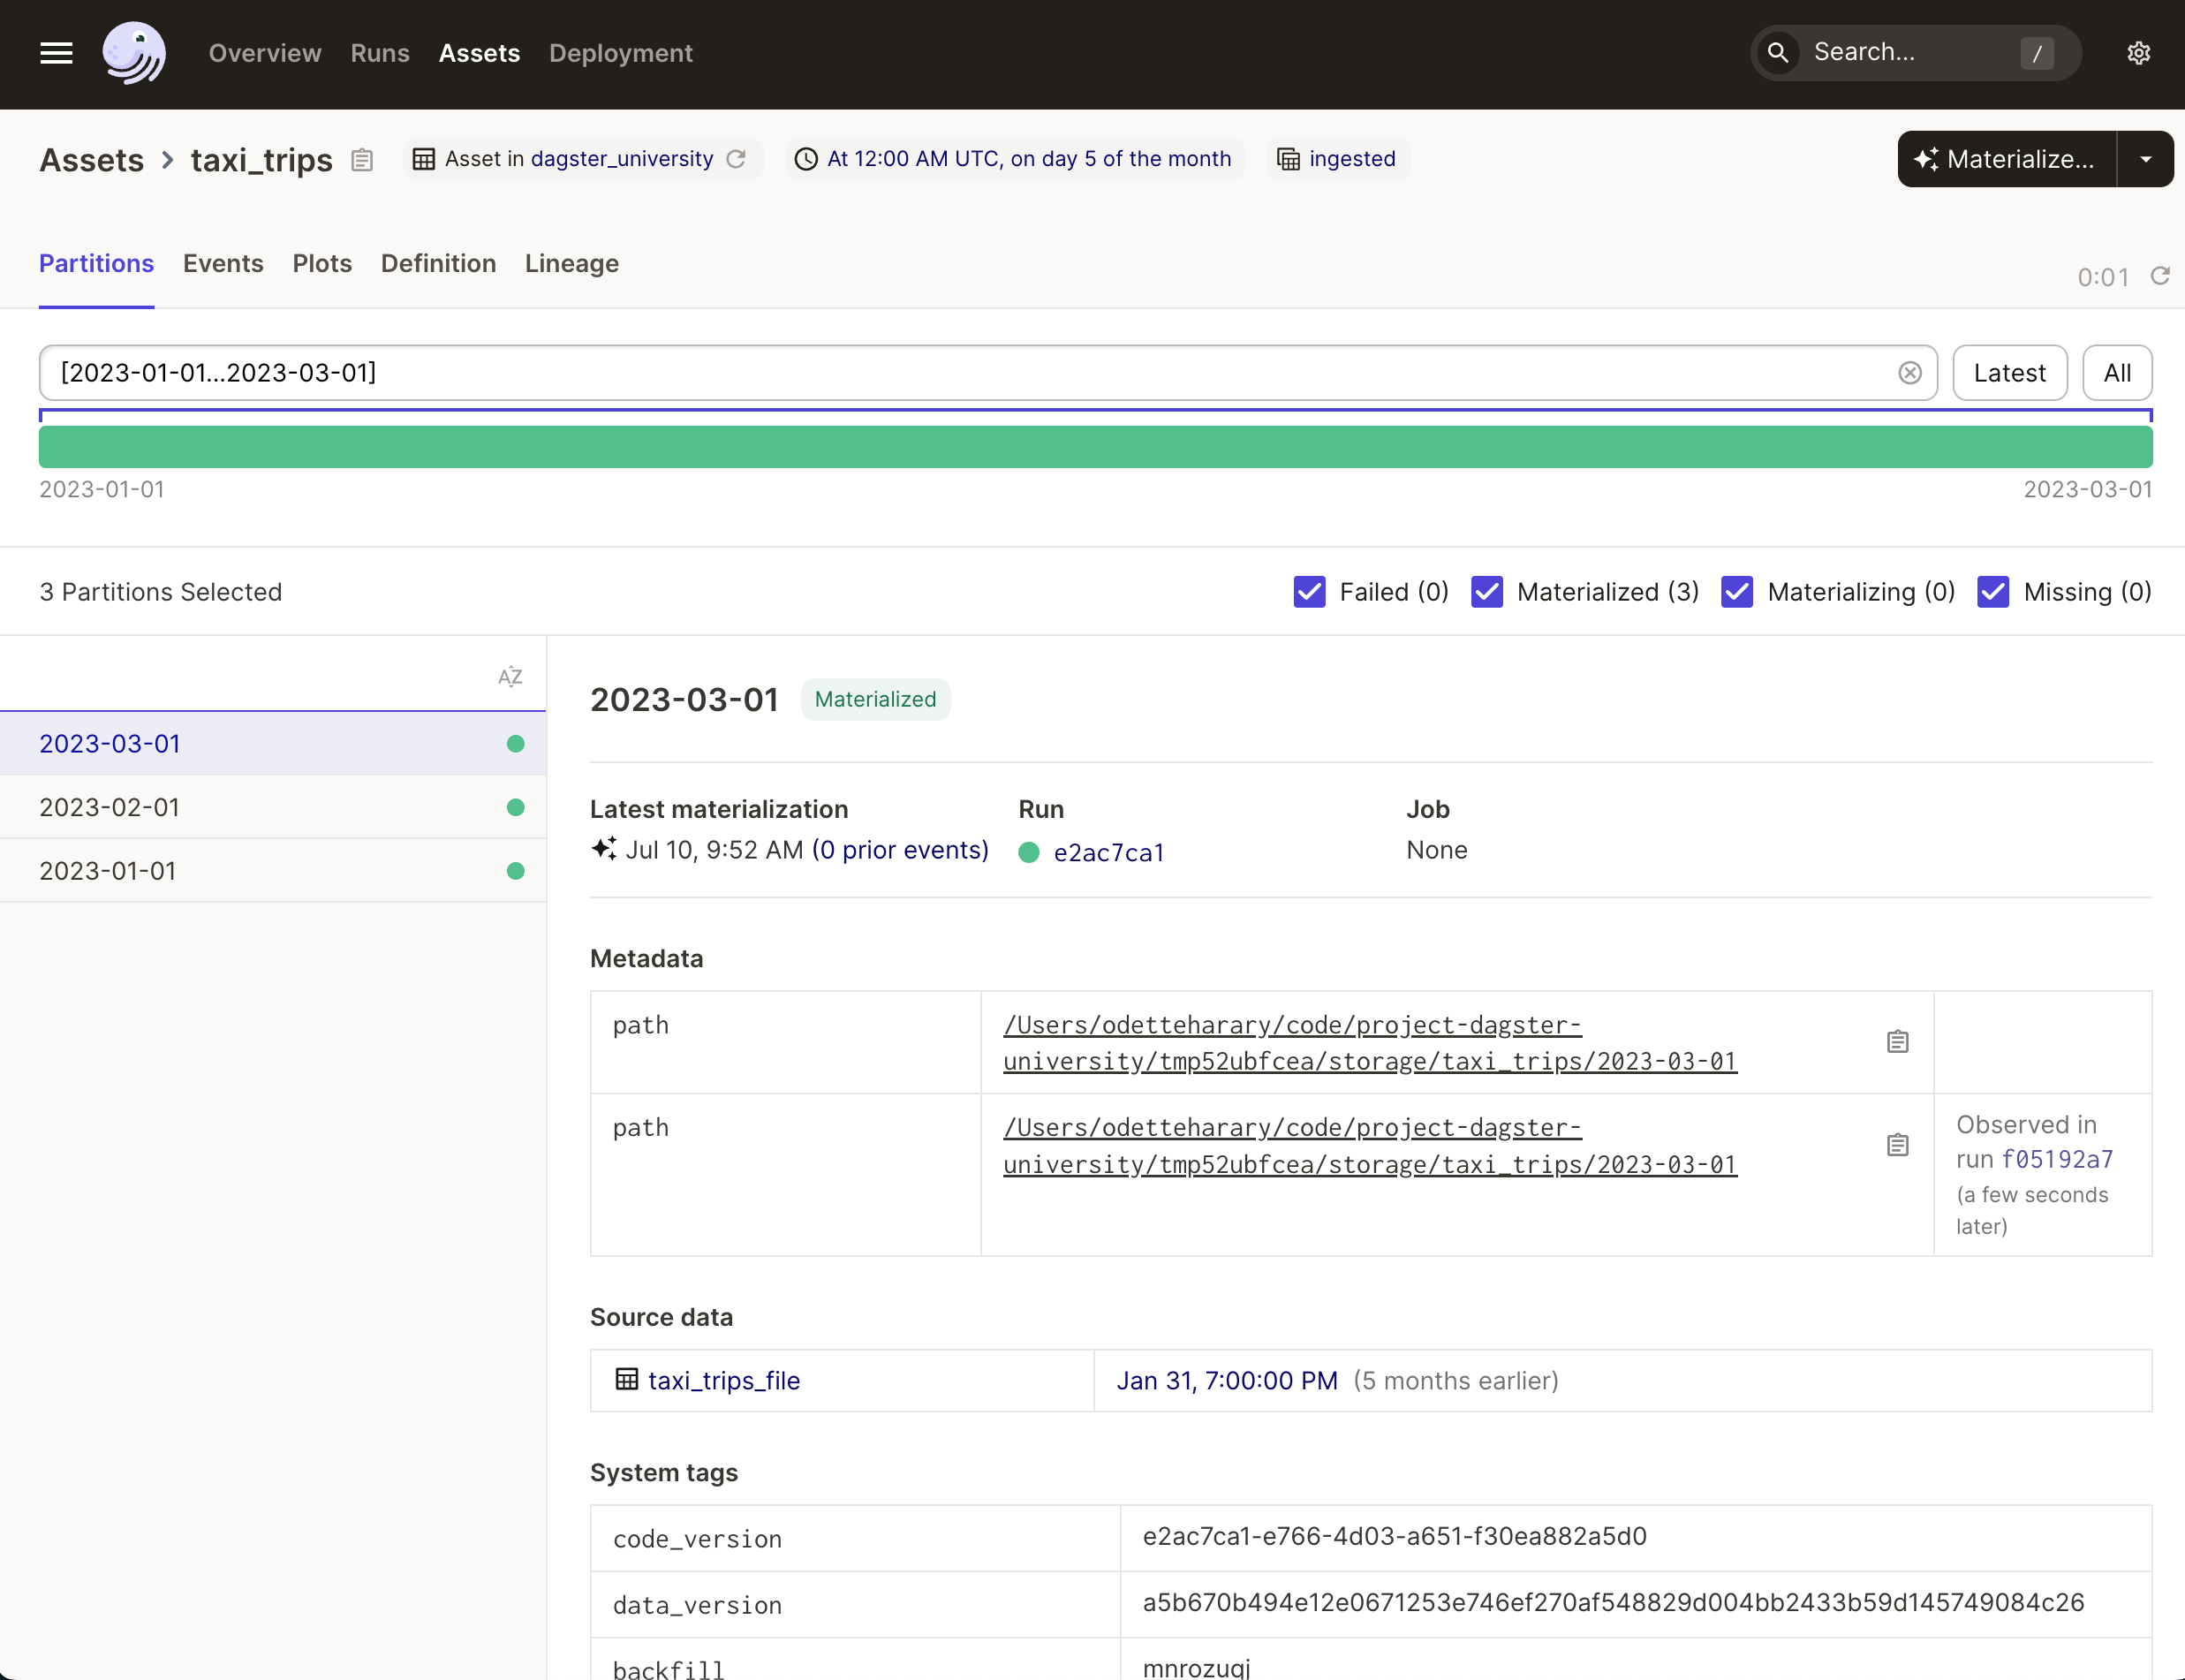
Select 2023-03-01 to view a specific partition. Here you can see information specific to that partition of the asset, including lineage to the source data. In this case, that’s |
|
