Loading data into a database
Now that you have a query that produces an asset, let’s use Dagster to manage the materialization. By having Dagster manage the definition and materialization of data assets, you can easily determine when the table is changed and how long it takes.
At the top of the
trips.pyfile, importduckdbandosto help you manage where the DuckDB database file is stored as well asbackofffrom thedagster._utilswhich will help use DuckDB more effectively:import duckdb import os import dagster as dg from dagster._utils.backoff import backoffCopy and paste the code below into the bottom of the
trips.pyfile. Note how this code looks similar to the asset definition code for thetaxi_trips_fileand thetaxi_zonesassets:# src/dagster_essentials/defs/assets/trips.py @dg.asset( deps=["taxi_trips_file"] ) def taxi_trips() -> None: """ The raw taxi trips dataset, loaded into a DuckDB database """ query = """ create or replace table trips as ( select VendorID as vendor_id, PULocationID as pickup_zone_id, DOLocationID as dropoff_zone_id, RatecodeID as rate_code_id, payment_type as payment_type, tpep_dropoff_datetime as dropoff_datetime, tpep_pickup_datetime as pickup_datetime, trip_distance as trip_distance, passenger_count as passenger_count, total_amount as total_amount from 'data/raw/taxi_trips_2023-03.parquet' ); """ conn = backoff( fn=duckdb.connect, retry_on=(RuntimeError, duckdb.IOException), kwargs={ "database": os.getenv("DUCKDB_DATABASE"), }, max_retries=10, ) conn.execute(query)Let’s walk through what this code does:
Using the
@dg.assetdecorator, an asset namedtaxi_tripsis created.The
taxi_trips_fileasset is defined as a dependency oftaxi_tripsthrough thedepsargument.Next, a variable named
queryis created. This variable contains a SQL query that creates a table namedtrips, which sources its data from thedata/raw/taxi_trips_2023-03.parquetfile. This is the file created by thetaxi_trips_fileasset.A variable named
connis created, which defines the connection to the DuckDB database in the project. To do this, we first wrap everything with the Dagster utility functionbackoff. Using the backoff function ensures that multiple assets can use DuckDB safely without locking resources. The backoff function takes in the function we want to call (in this case the.connectmethod from theduckdblibrary), any errors to retry on (RuntimeErrorandduckdb.IOException), the max number of retries, and finally, the arguments to supply to the.connectDuckDB method. Here we are passing in theDUCKDB_DATABASEenvironment variable to tell DuckDB where the database is located.The
DUCKDB_DATABASEenvironment variable, sourced from your project’s.envfile, resolves todata/staging/data.duckdb. Note: We set up this file in Lesson 2 - refer to this lesson if you need a refresher. If this file isn’t set up correctly, the materialization will result in an error.Finally,
connis paired with the DuckDBexecutemethod, where our SQL query (query) is passed in as an argument. This tells the asset that, when materializing, to connect to the DuckDB database and execute the query inquery.
Save the changes to the file.
In the Dagster UI, navigate to the Global asset lineage page:
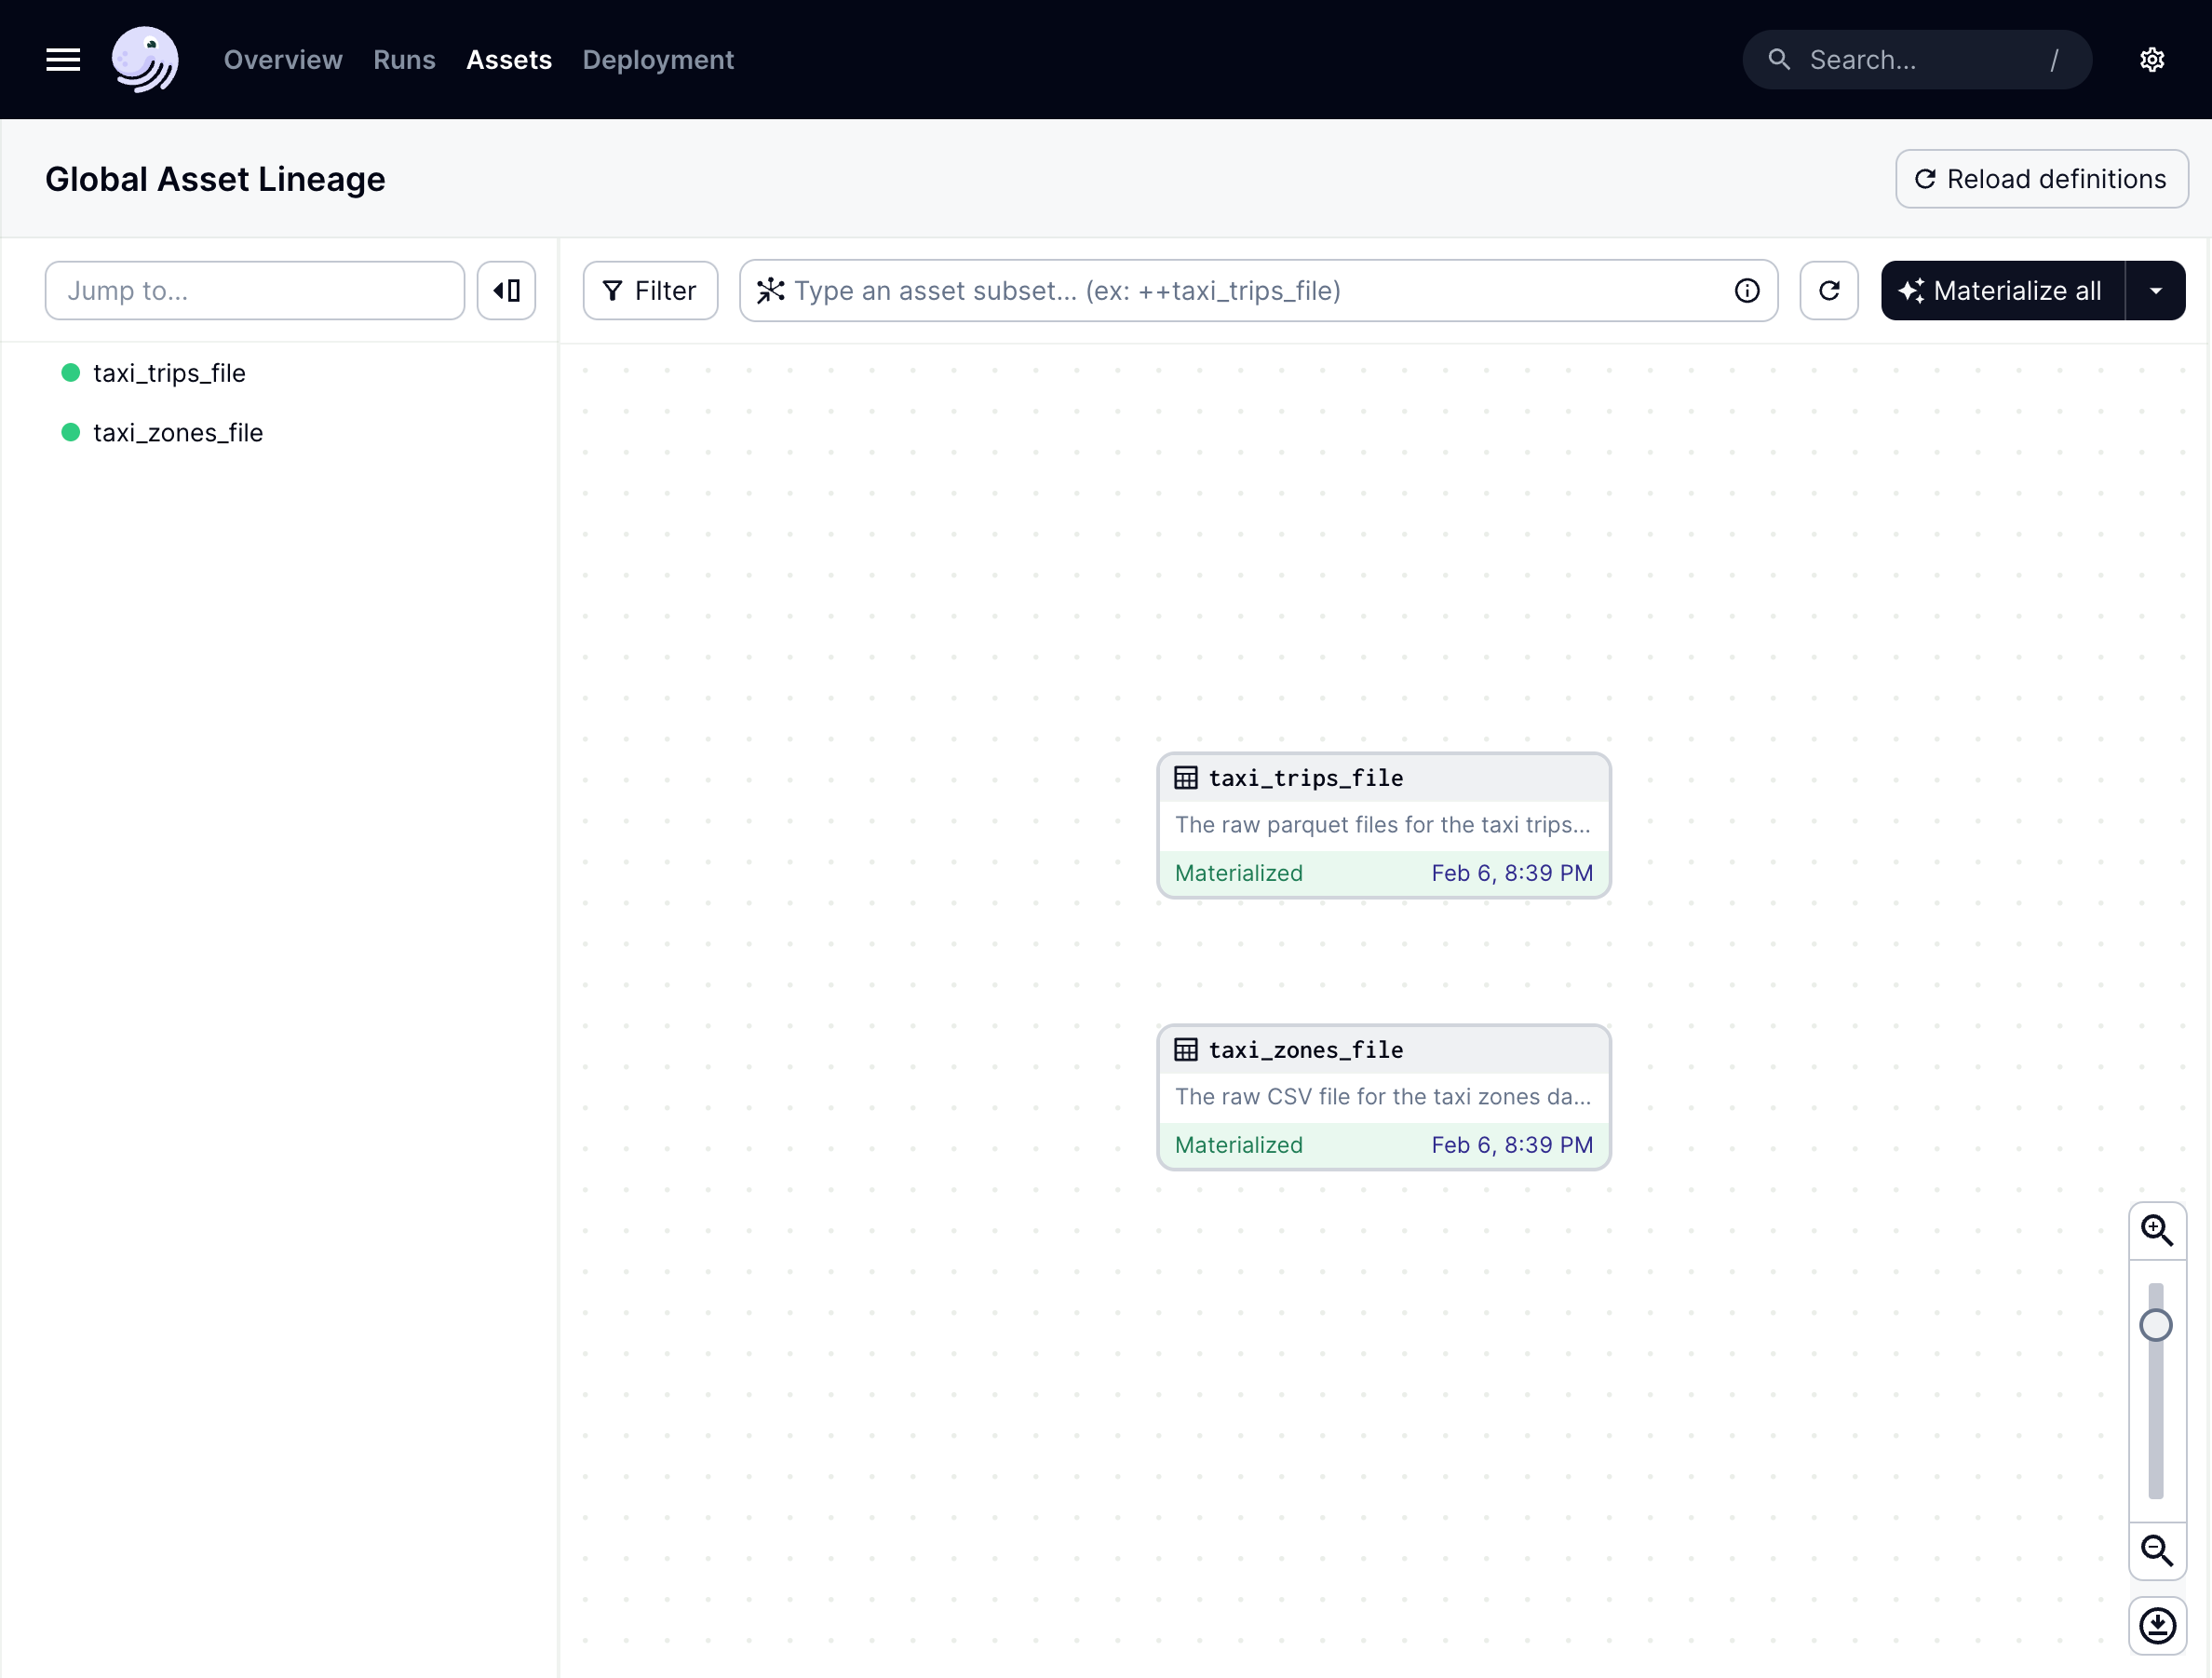
It looks like there’s an issue - the new
taxi_tripsasset isn’t showing up. This is because the definitions in your code location have to be reloaded to reflect this newly added asset.We’ll go into code locations in detail in a later lesson, but for now, you can manually reload your definitions by clicking the Reload Definitions button near the top-right corner of the page.
Once reloaded, the taxi_trips asset will display in the asset graph:
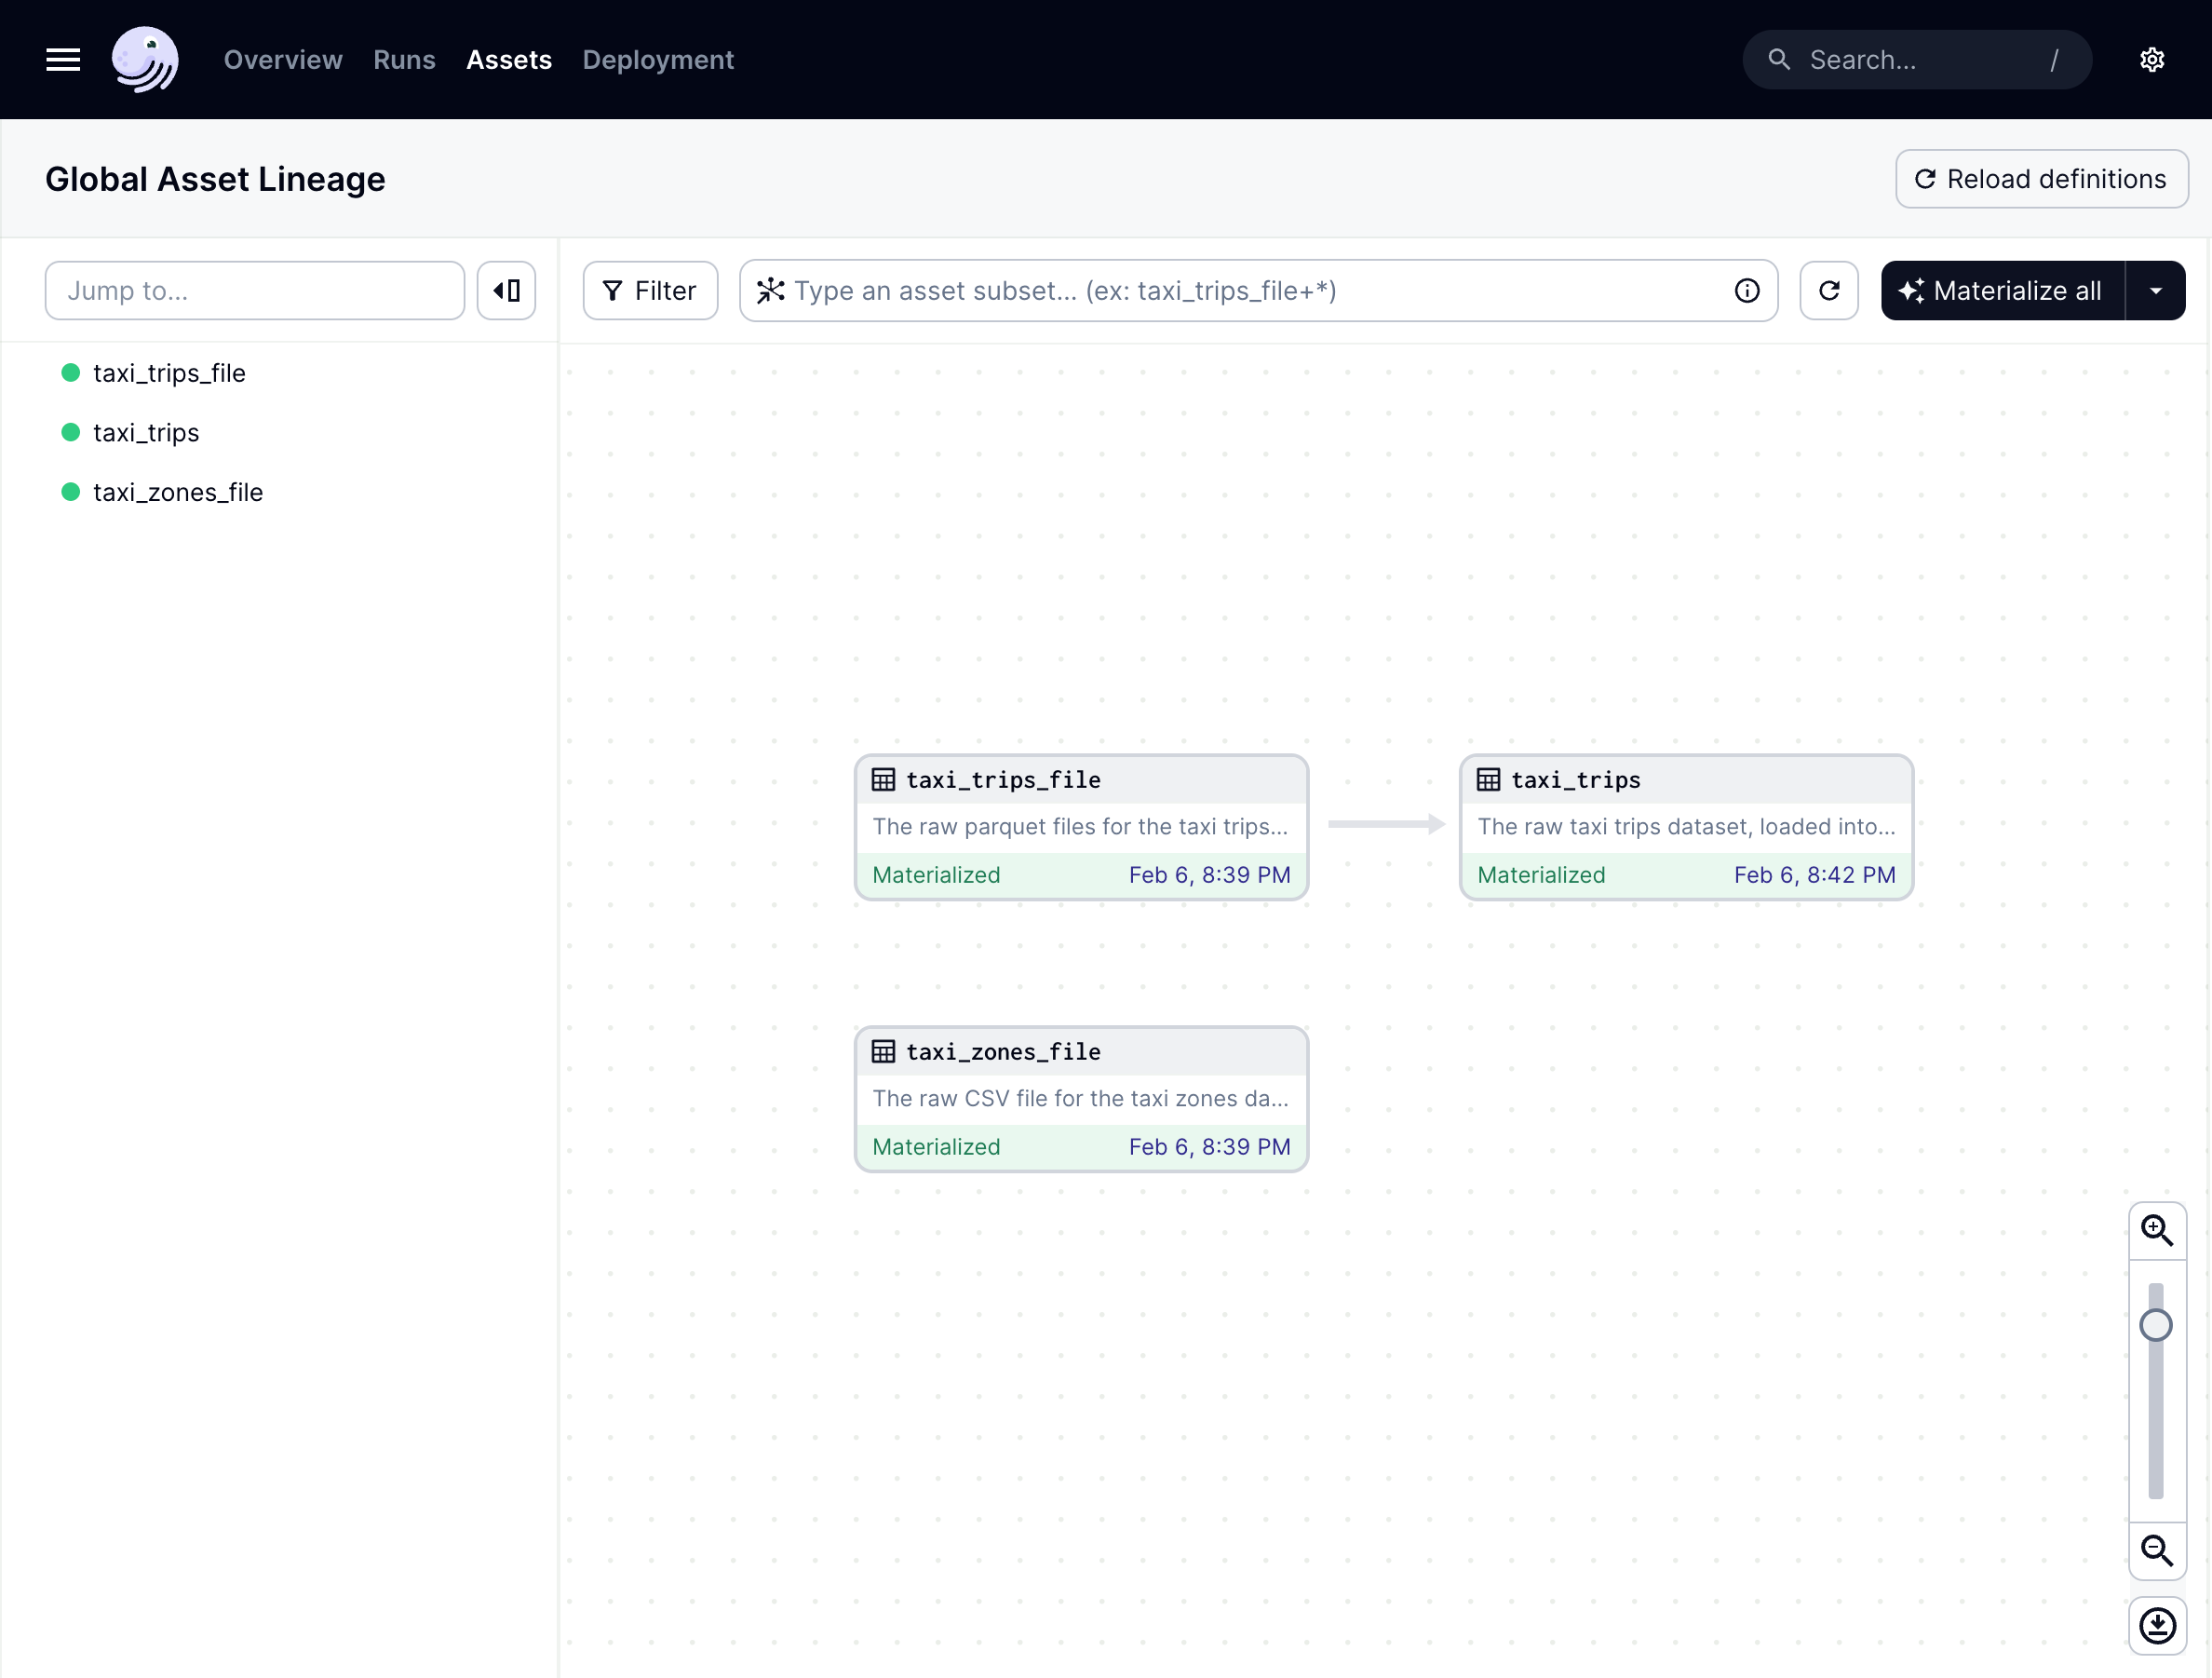
Notice the arrow from the taxi_trips file asset to the taxi_trips asset: this indicates the dependency that taxi_trips has on taxi_trips_file.
💡 When should definitions be reloaded? If you installed dependencies with
pip install -e ".[dev]", you’ll only need to reload definitions when adding new assets or other Dagster objects, such as schedules, to your project. Because of the-eeditable flag, Dagster can pick up the changes in your asset function’s code without needing to reload the code location again.
Materializing the pipeline
Click the Materialize all button in the top right corner of the graph to create a new run that materializes all the assets. When the run starts, click the run link on the asset to open the Run details page. This allows you to view the run in progress.
On this page, you’ll see that all three of your assets in the process of materializing. The taxi_trips_file and taxi_zones_file assets should materialize in parallel, while taxi_trips won’t begin materializing until after taxi_trips_file finishes:
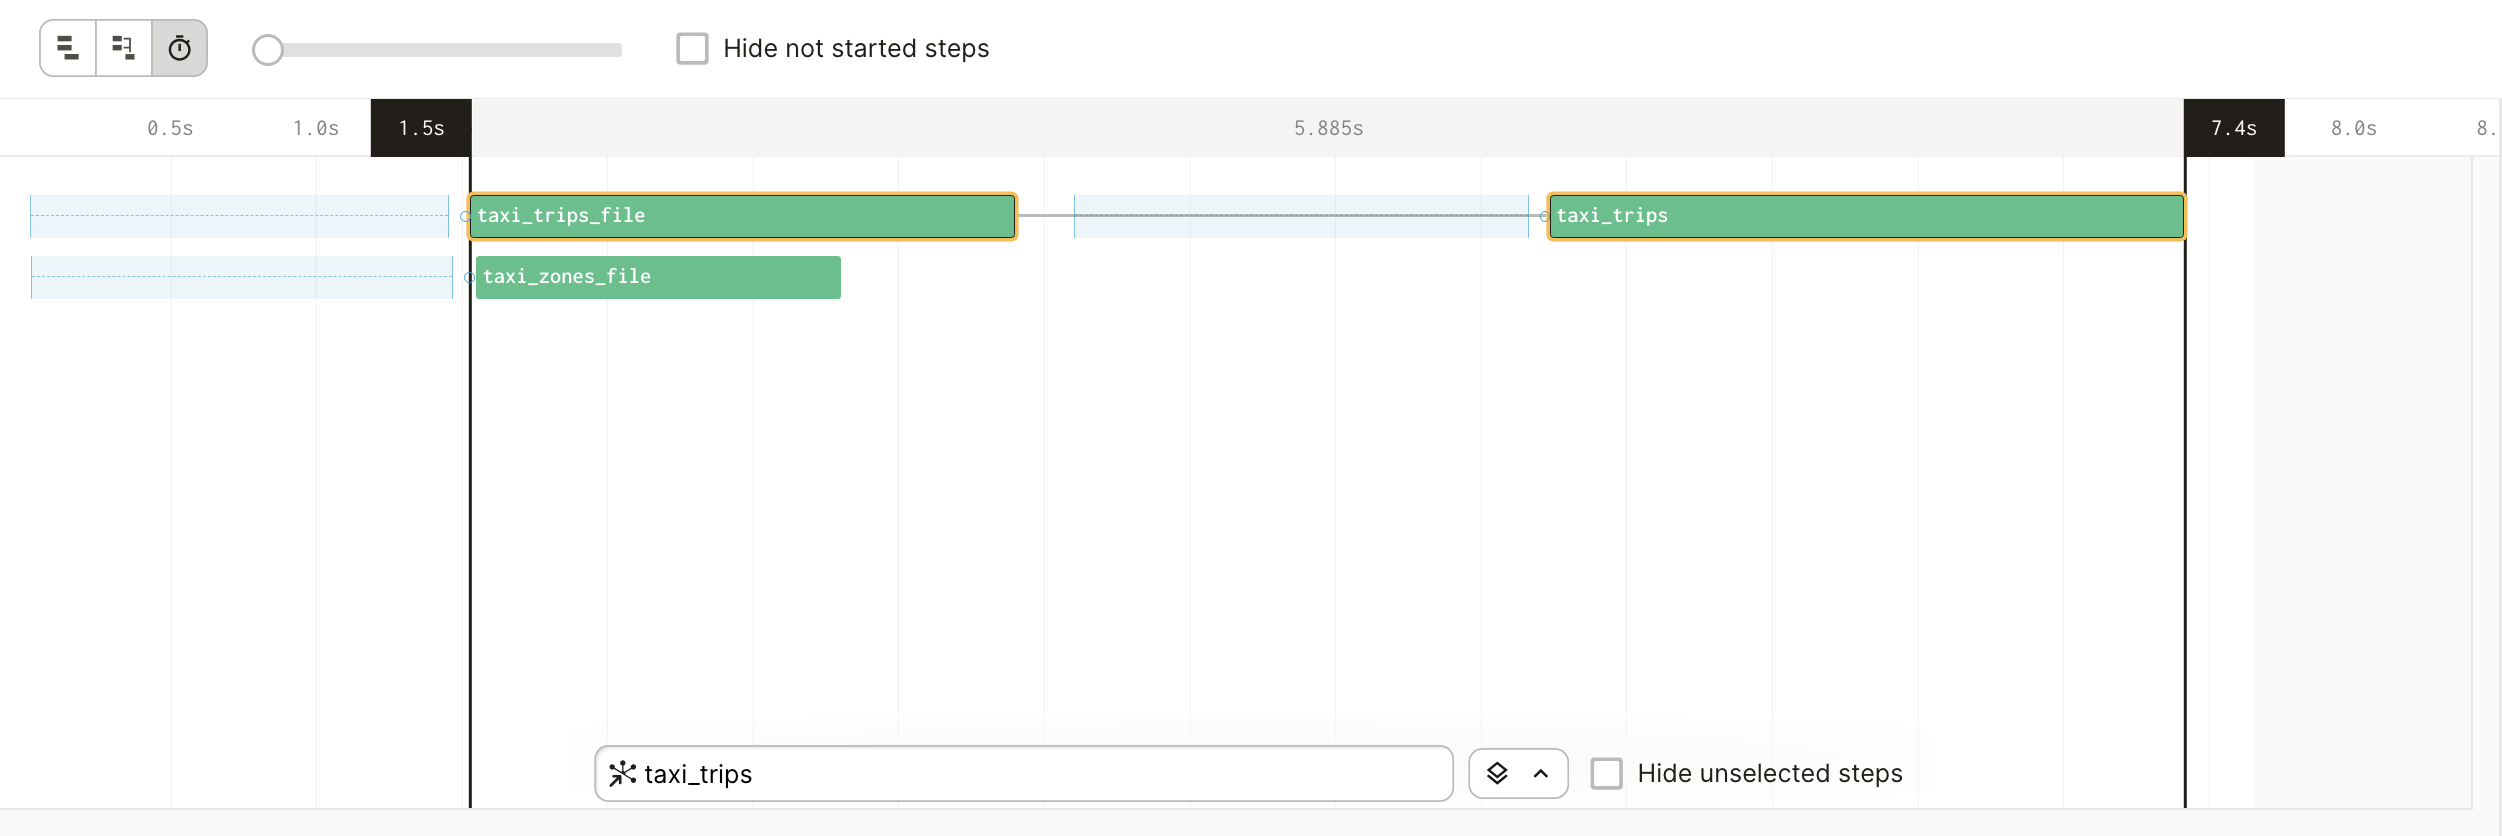
This is because you’ve told Dagster that taxi_trips depends on the taxi_trips_file asset, using the deps= argument. Therefore, the taxi_trips asset waits until the taxi_trips_file is up-to-date and materialized before trying to materialize itself.
Optional: Verifying the materialization
To confirm that the taxi_trips asset materialized properly, you can access the newly made trips table in DuckDB. In a new terminal session, open a Python REPL and run the following snippet:
import duckdb
conn = duckdb.connect(database="data/staging/data.duckdb") # assumes you're writing to the same destination as specified in .env.example
conn.execute("select count(*) from trips").fetchall()
The command should succeed and return a row count of the taxi trips that were ingested. When finished, make sure to stop the terminal process before continuing or you may encounter an error. Use Control+C or Command+C to stop the process.
Congratulations! You’ve finished writing a simple data pipeline that fetches data from an API and ingests it into a database.