Creating the manifest during deployment
To recap, our deployment failed in the last section because Dagster couldn’t find a dbt manifest file, which it needs to turn dbt models into Dagster assets. This is because we built this file by running dbt parse during local development. You ran this manually in Lesson 3 and improved the experience using DbtProject's prepare_if_dev in Lesson 4. However, you'll also need to build your dbt manifest file during deployment, which will require a couple additional steps. We recommend adopting CI/CD to automate this process.
Building your manifest for your production deployment will be needed for both open source and Dagster+ deployments. In this case, Dagster+’s out-of-the-box deploy.yml GitHub Action isn’t aware that you’re also trying to deploy a dbt project with Dagster.
Since your CI/CD will be running in a fresh environment, you'll need to install dbt and other dependencies before building your manifest.
To get our deployment working, we need to add a step to our GitHub Actions workflow that runs the commands required to generate the manifest.json. Specifically, we need to run the dbt project prepare-and-package command, available in the dagster_dbt package.
In your Dagster project, pull the latest changes from the remote repo (
git fetch && git pull), then locate the.github/workflowsdirectory.Open the
deploy.ymlfile.Locate the
Checkout for Python Executable Deploystep, which should be on or near line 38.After this step, add the following:
- name: Prepare DBT project for deployment
  if: steps.prerun.outputs.result == 'pex-deploy'
  run: |
    python -m pip install pip --upgrade
    cd project-repo
    pip install . --upgrade --upgrade-strategy eager
    dagster-dbt project prepare-and-package --file dagster_and_dbt/project.py
  shell: bash
The code above:
- Creates a step named
Prepare DBT project for deployement - Upgrades
pip, the package installer for Python - Navigates inside the
project-repofolder - Upgrades the project dependencies
- Prepares the manifest file by running the
dagster-dbt project prepare-and-packagecommand, specifying the file in which theDbtProjectobject is located.
Once the new step is pushed to the remote, GitHub will automatically try to run a new job using the updated workflow.
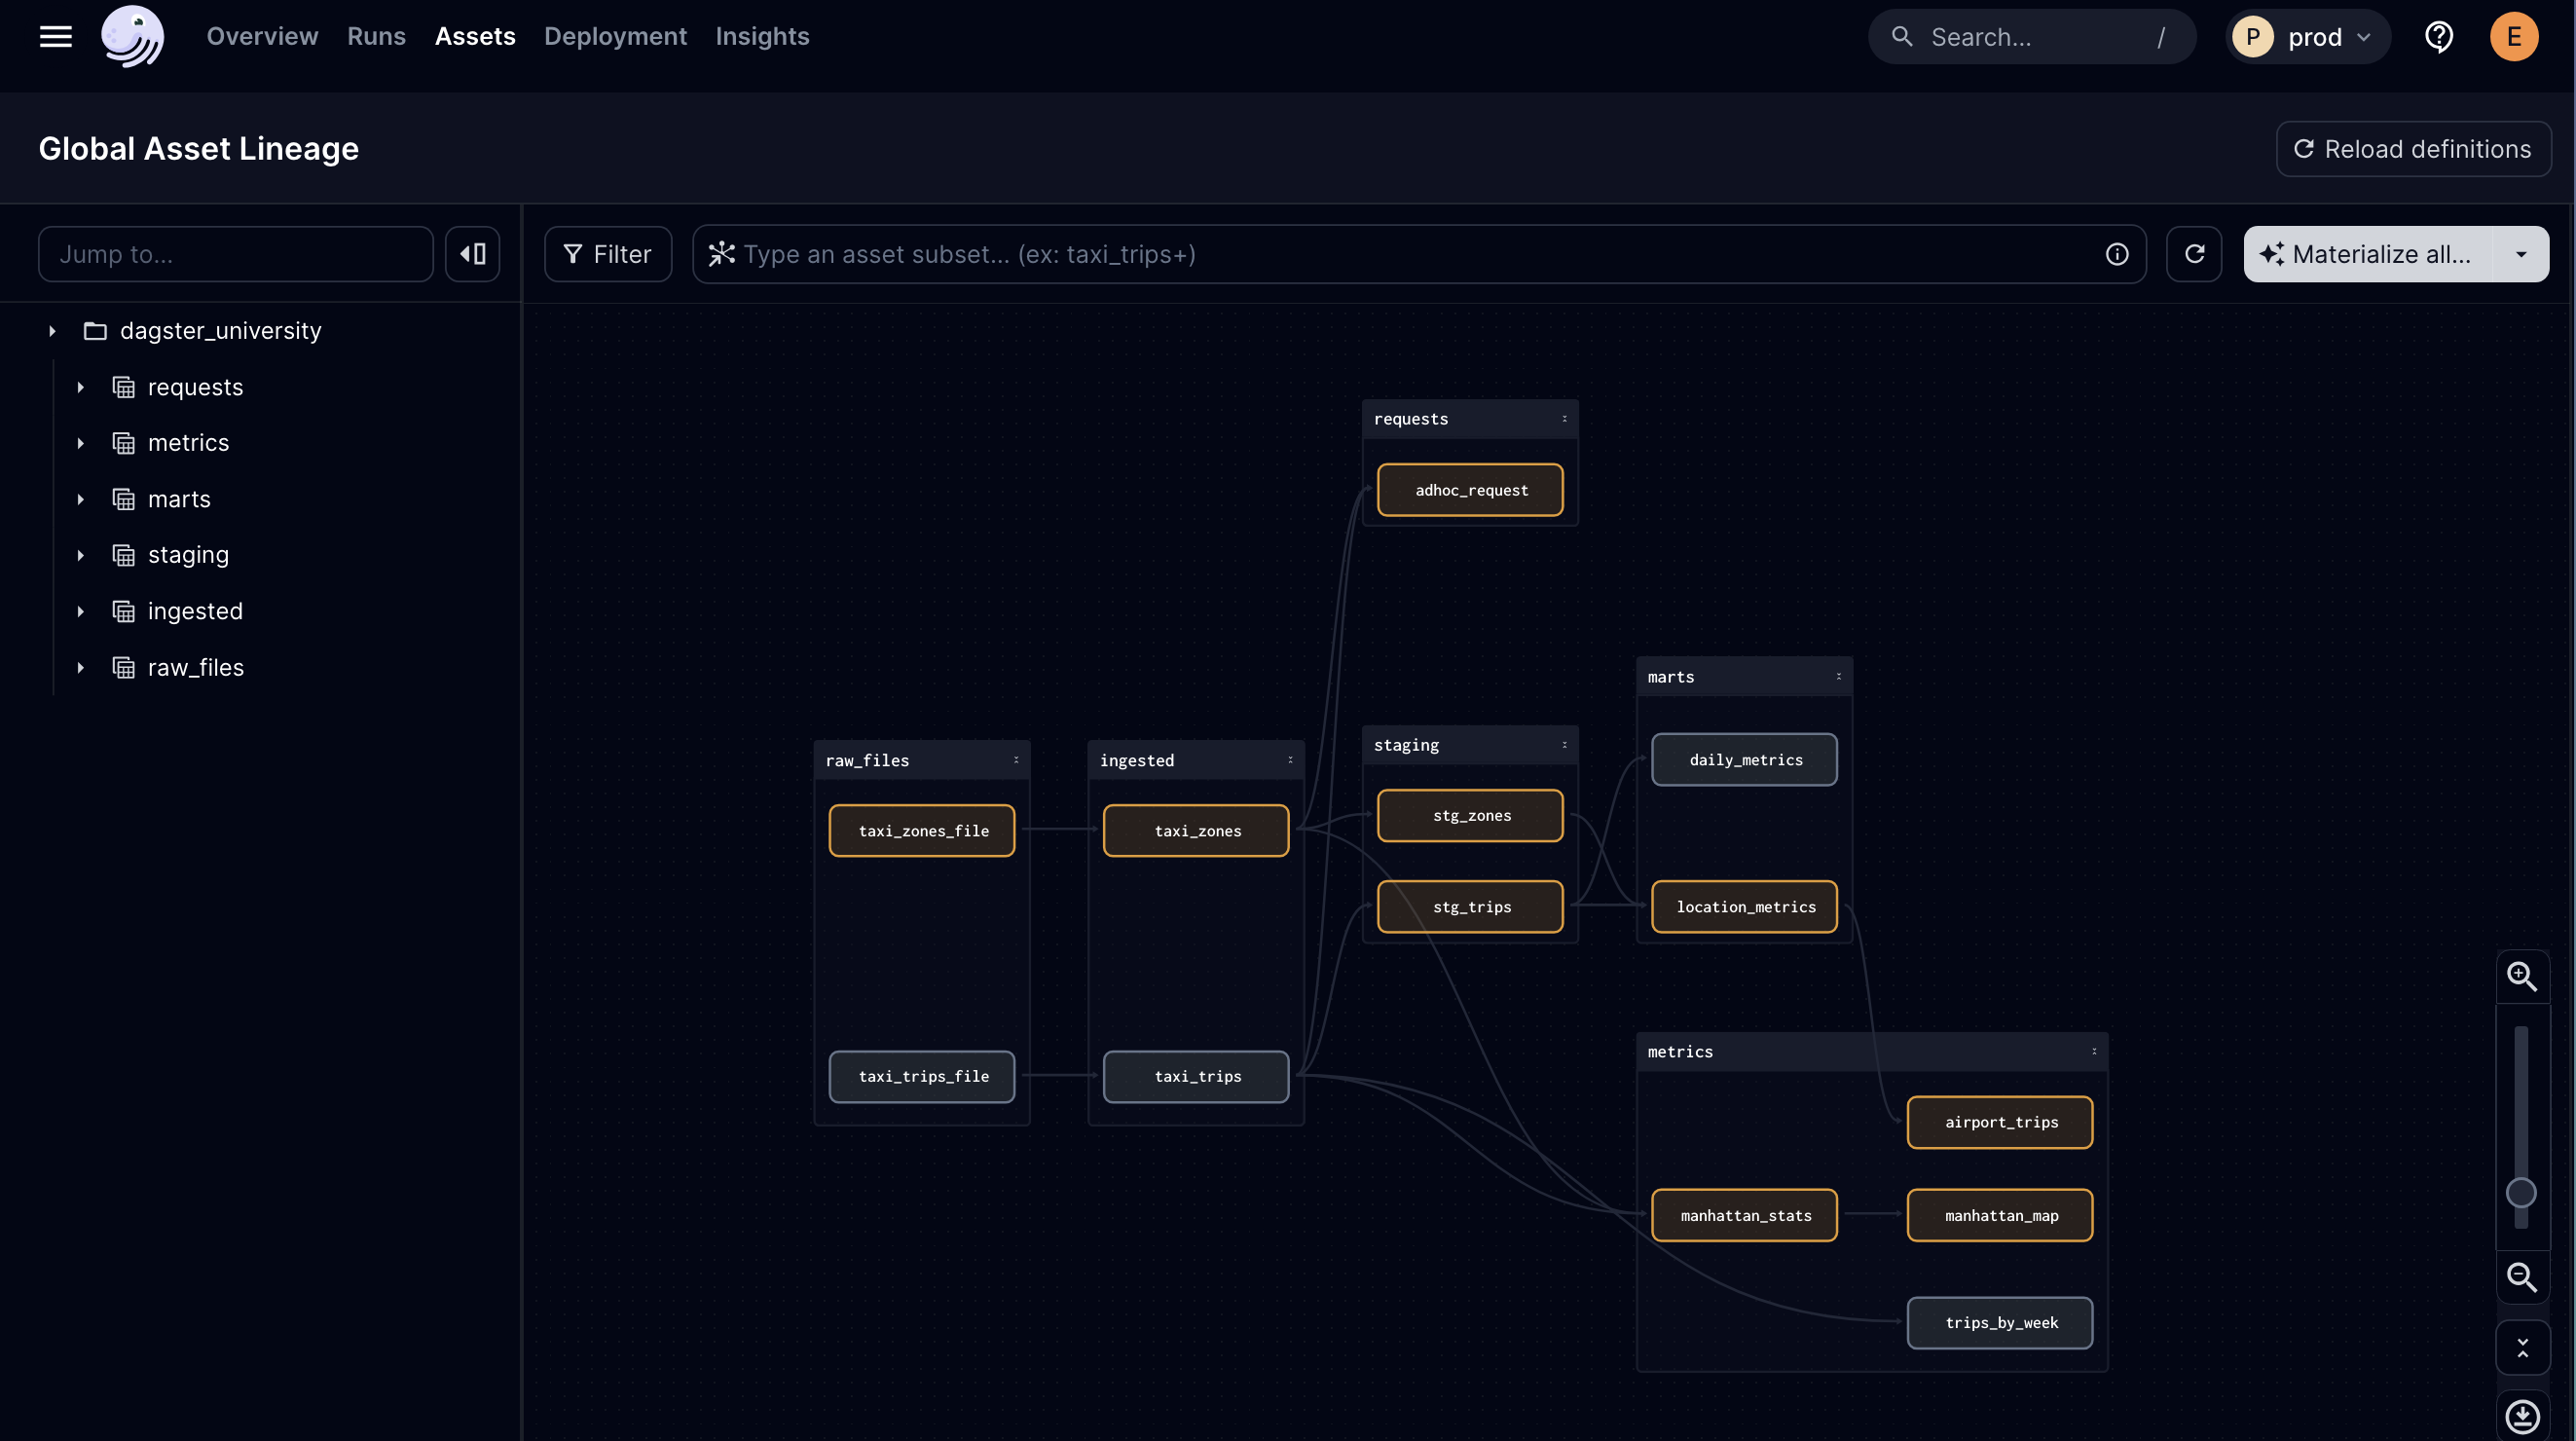
At this point, your dbt project will be successfully deployed onto Dagster+ and you should be able to see your models in the asset graph!

Experiencing issues?
There are two ways to deploy Dagster+ Serverless. In our case, we only made changes to deploy dbt with the default option, called Fast Deploys with PEX (Python Executable).
If you receive an error message to turn off Fast Deploys, GitHub Actions will skip the steps that build the dbt project. We recommend staying with Fast Deploys, if possible.
If your project works locally, the issue is likely a mismatch between where Dagster looks for the manifest locally and in production. This can be resolved by tinkering with where the manifest is being written.
Reach out to the Dagster community on Slack in the #dagster-university channel if you need more support!