GitHub Copilot
If you're using GitHub Copilot as your AI coding agent, follow these steps so the Dagster skills are available. Once they're installed and enabled, you can use prompts like /dagster-expert in later lessons.
1. Install GitHub Copilot
Install the GitHub Copilot extension in VS Code and sign in with your GitHub account. Make sure you also have the GitHub Copilot Chat extension installed, which provides the agent interface.
Enable agent mode
This course expects the agent to run terminal commands and write files autonomously — not just suggest them. In Copilot Chat, switch to Agent mode using the mode selector in the chat input bar (look for the dropdown that says "Ask" or "Edit" and change it to "Agent"). Without agent mode, Copilot will suggest commands for you to run manually rather than executing them itself.
2. Add the Dagster skills
The npx command comes with Node.js. If you don't have it installed, install Node.js first.
Install using the npx skills command-line:
npx skills add dagster-io/skills
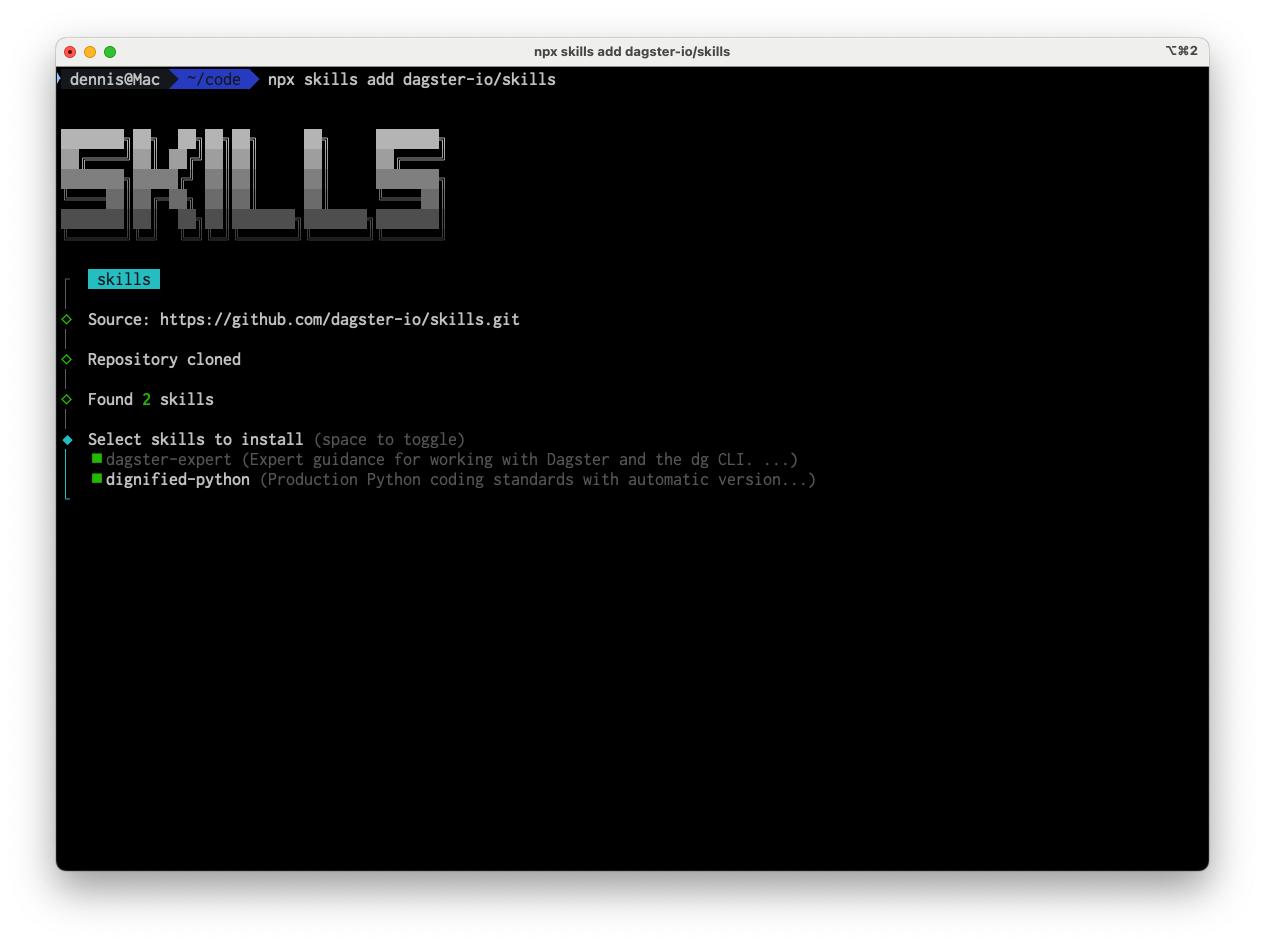
3. Ensure the Dagster skills are enabled
In the Copilot Chat panel, confirm that the Dagster skills are enabled. You want at least:
dagster-expert: for project structure,dgCLI, and Dagster patternsdignified-python: for Python best practices
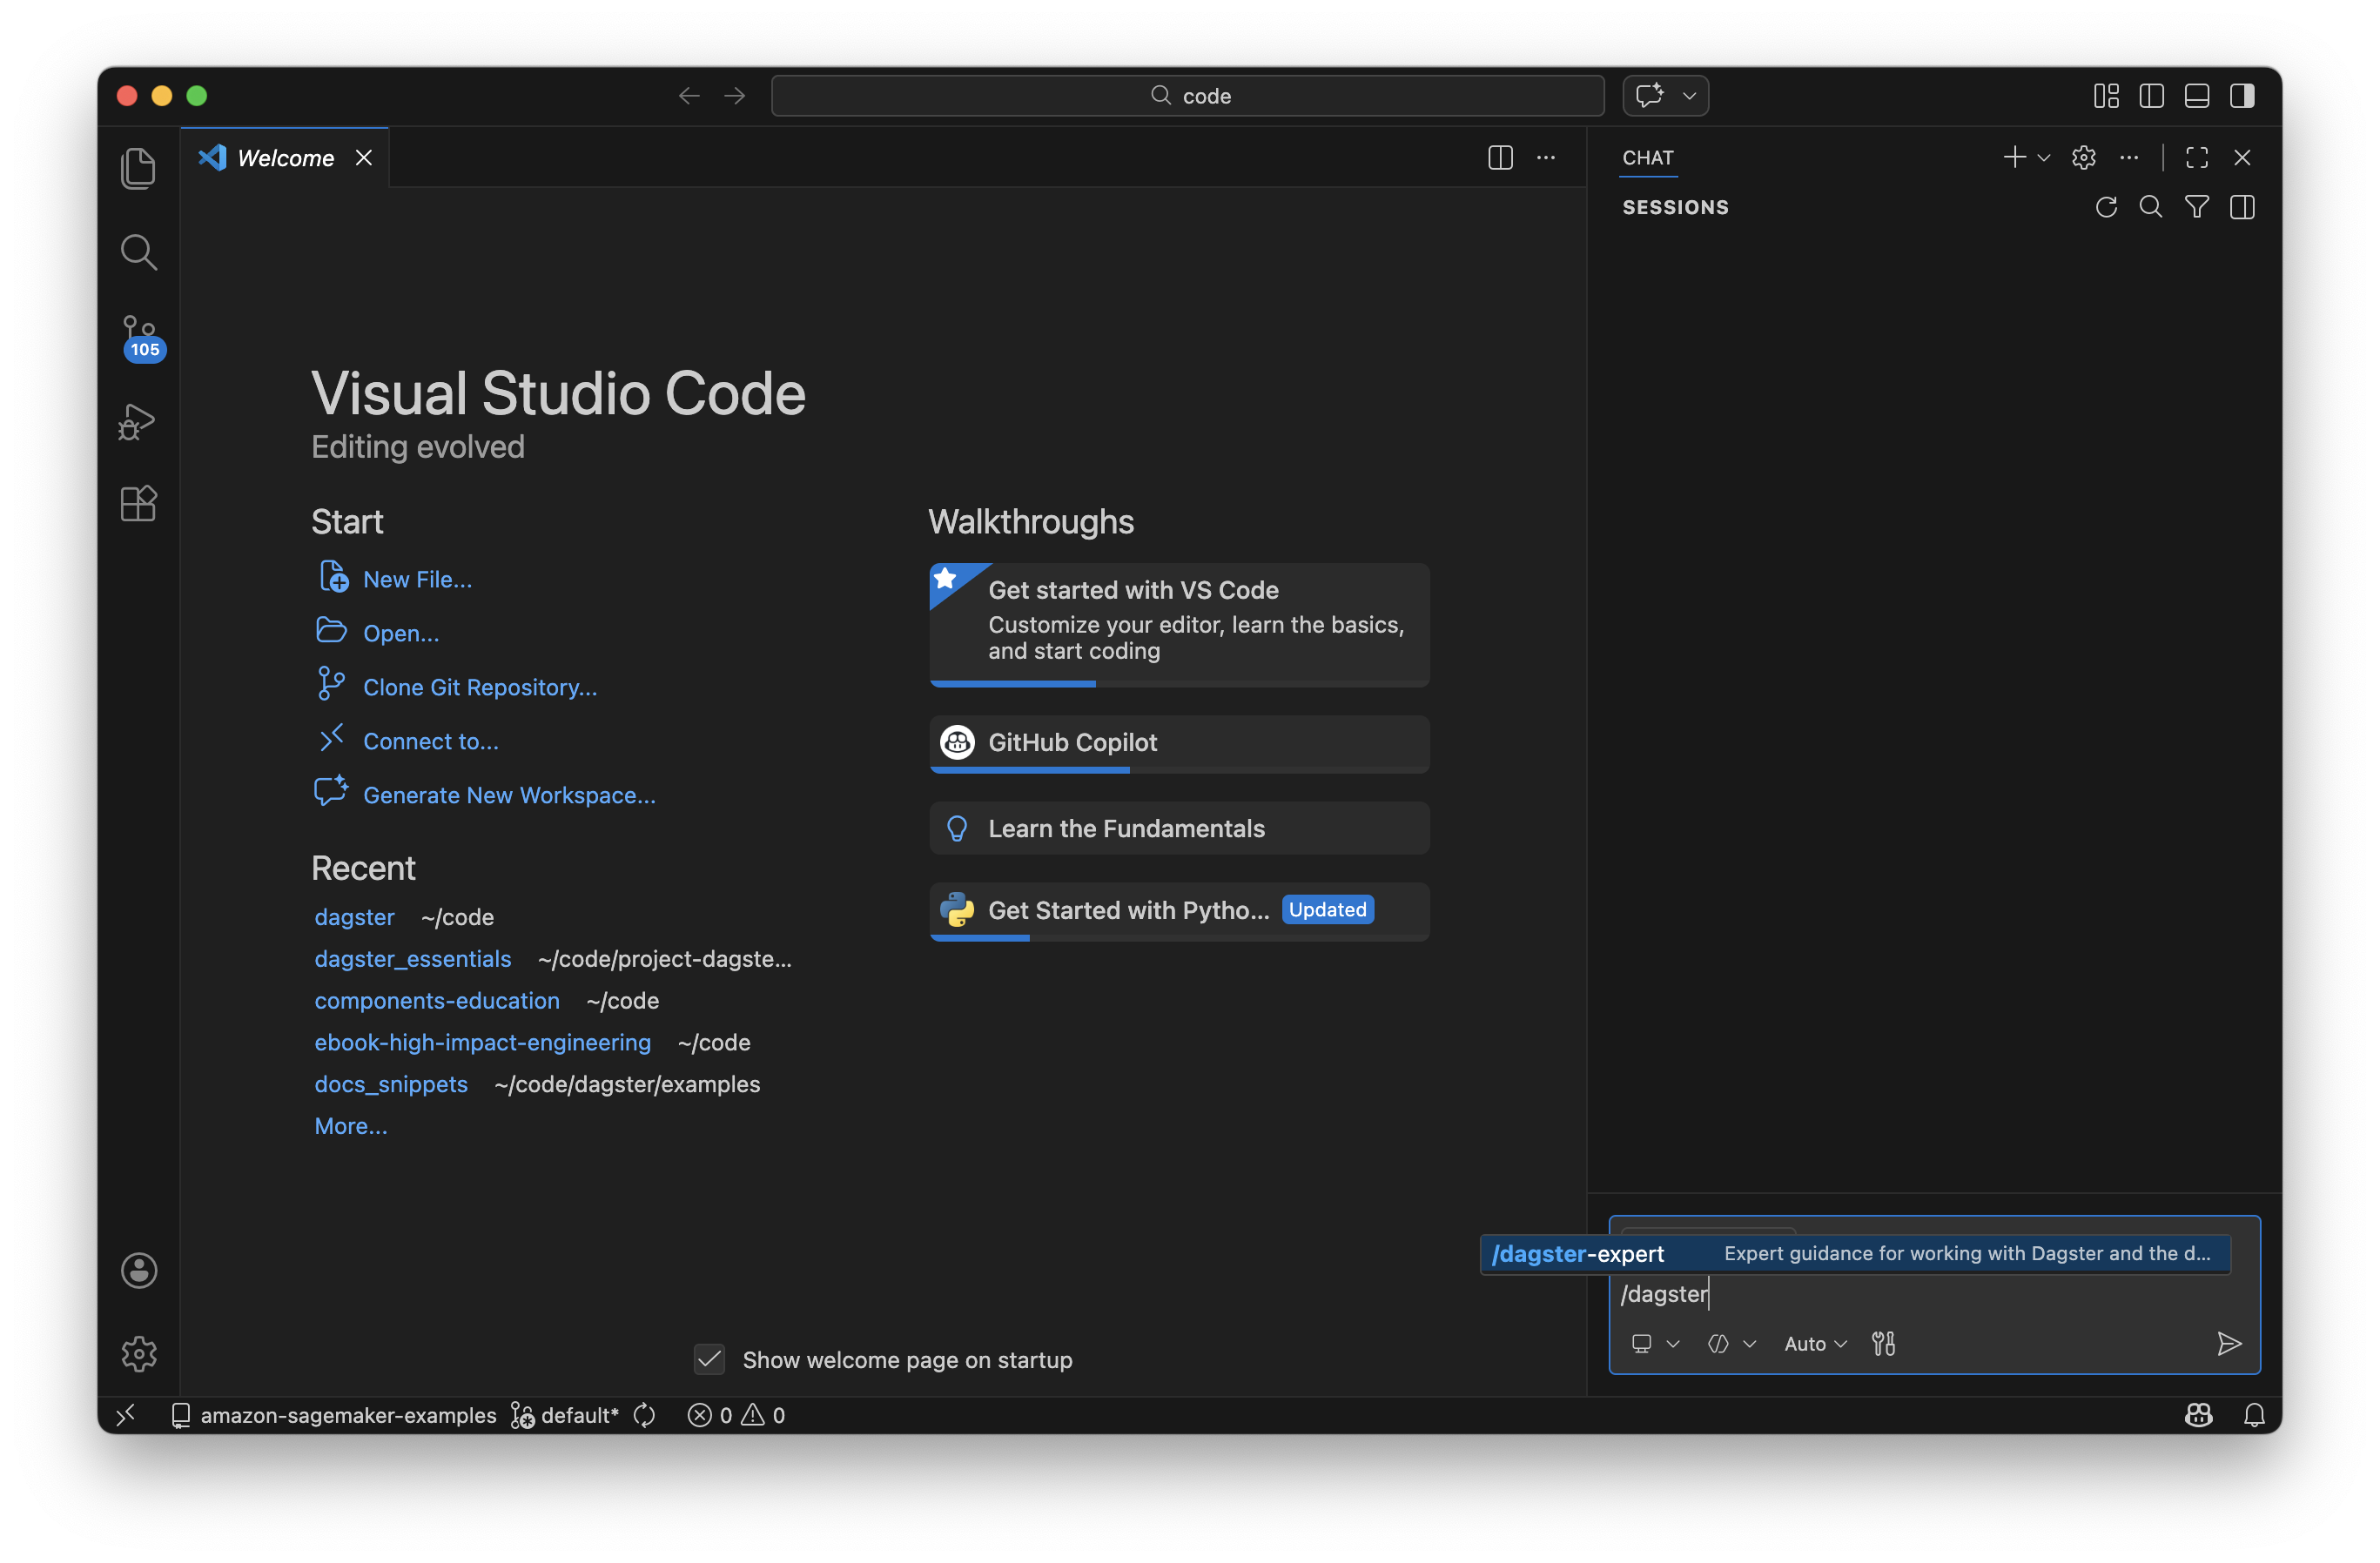
Skills are invoked by typing the skill name prefixed with / in the Copilot Chat input:
/dagster-expert create a new Dagster project called university
You'll use this pattern throughout the rest of the course.
You're set
With the Dagster skills installed and enabled, you're ready for Lesson 4. In later lessons you'll use prompts that invoke these skills so the agent follows Dagster best practices and uses dg for scaffolding and validation.